Personalized email messages are your best shot at capturing the attention of your employees. We break down how to send personalized emails in Outlook to increase open rates and boost employee engagement.
Over a million companies worldwide rely on Microsoft Outlook for their internal communications. But few are tapping into the power of Outlook email personalization.
In this post, we’ll teach you how to send personalized emails in Outlook to improve employee engagement and support productivity. It is super quick and easy to do this using effective internal email software like ContactMonkey.
Take a self-guided tour of ContactMonkey
See how our key features can streamline your internal communications.
Take product tour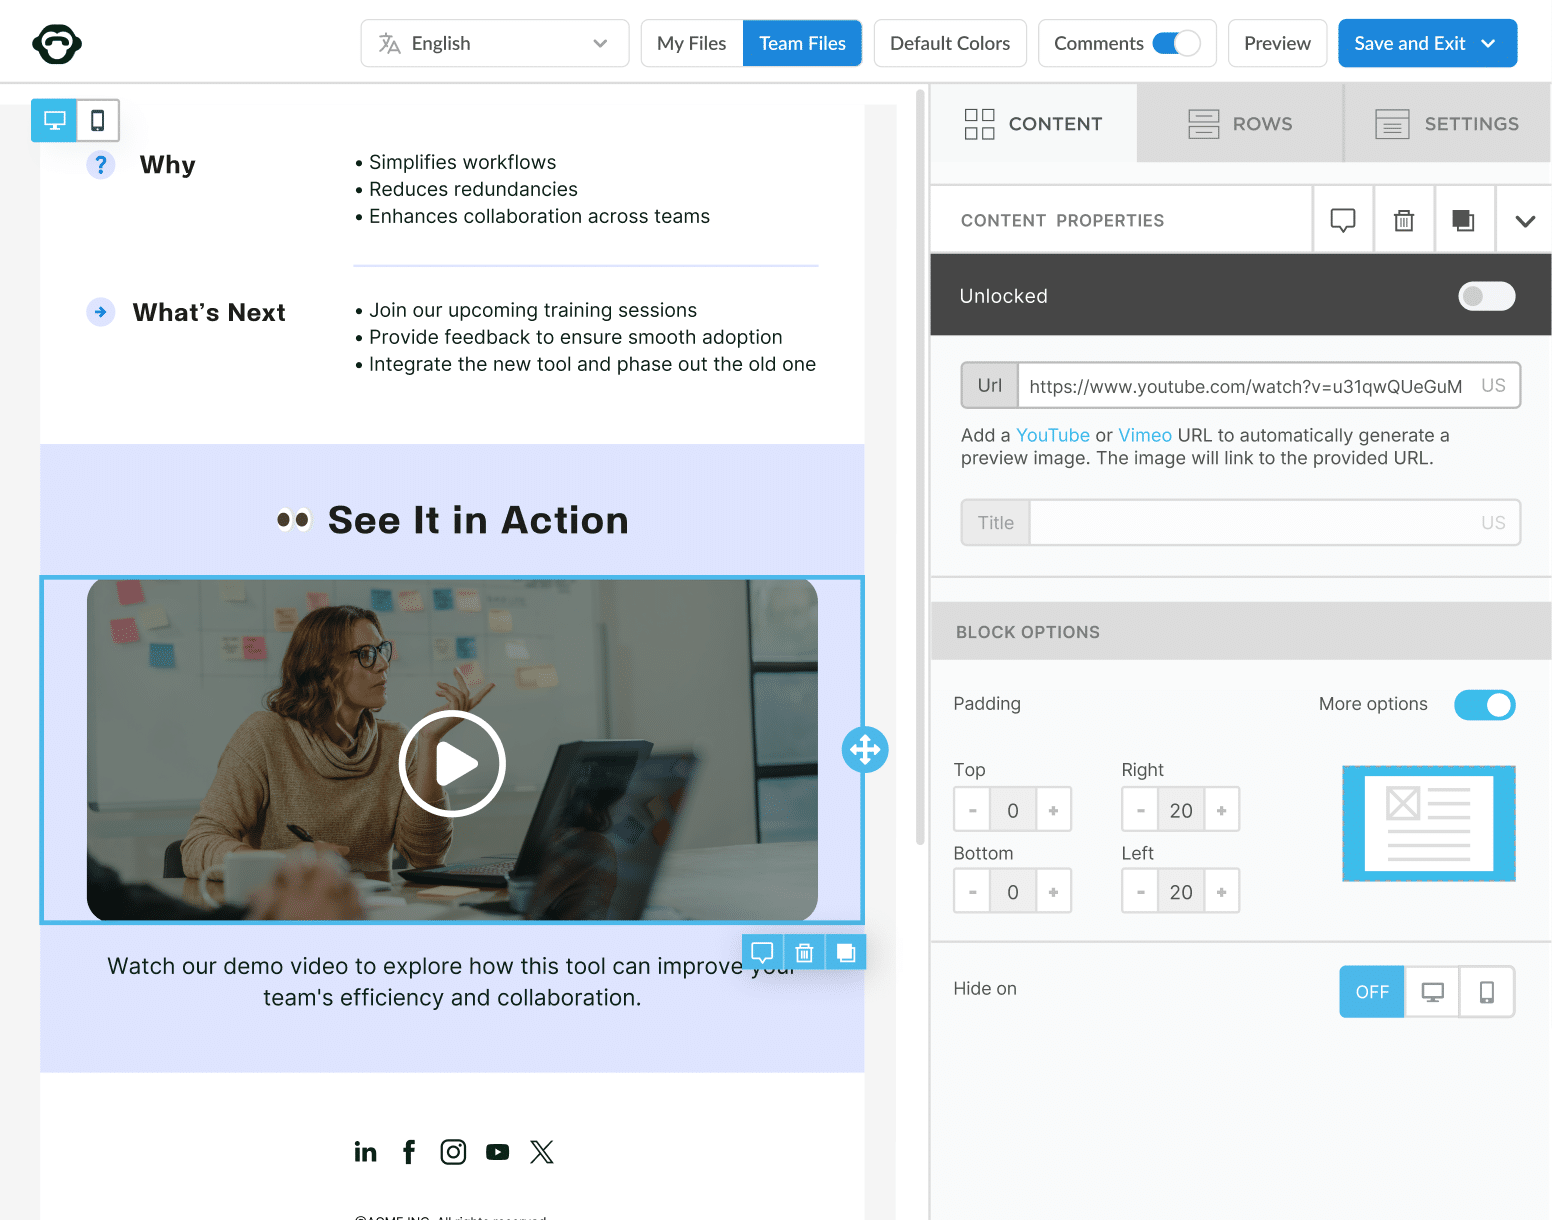
What is a Personalized Email?
A personalized email is a message that addresses the recipient by name.
That being said, personalized emails can take on many forms.
Some personalized emails simply include the recipient’s name in the subject line. Others embed the recipient’s name both into the body text and the email subject line.
Meanwhile, some personalized communications go above and beyond to include personalization across media and content, including team appreciation email messages, photos, and internal communication videos.
While personalized emails can be created manually, this is virtually impossible when you’re reaching out to hundreds or thousands of employees. As such, modern personalization often involves using automation to personalize mass emails.
Use ContactMonkey’s internal communications tool to increase email open rates by up to 33% as our customer did in this customer story. Not only does ContactMonkey help drive email engagement, but we can also optimize your email sending to help you avoid Outlook and Gmail sending limits.
Why Are Personalized Emails Important?
As an internal communicator, you’re constantly competing for employees’ attention. That’s because your staff receive dozens of emails daily, which adds up to a jam-packed inbox.
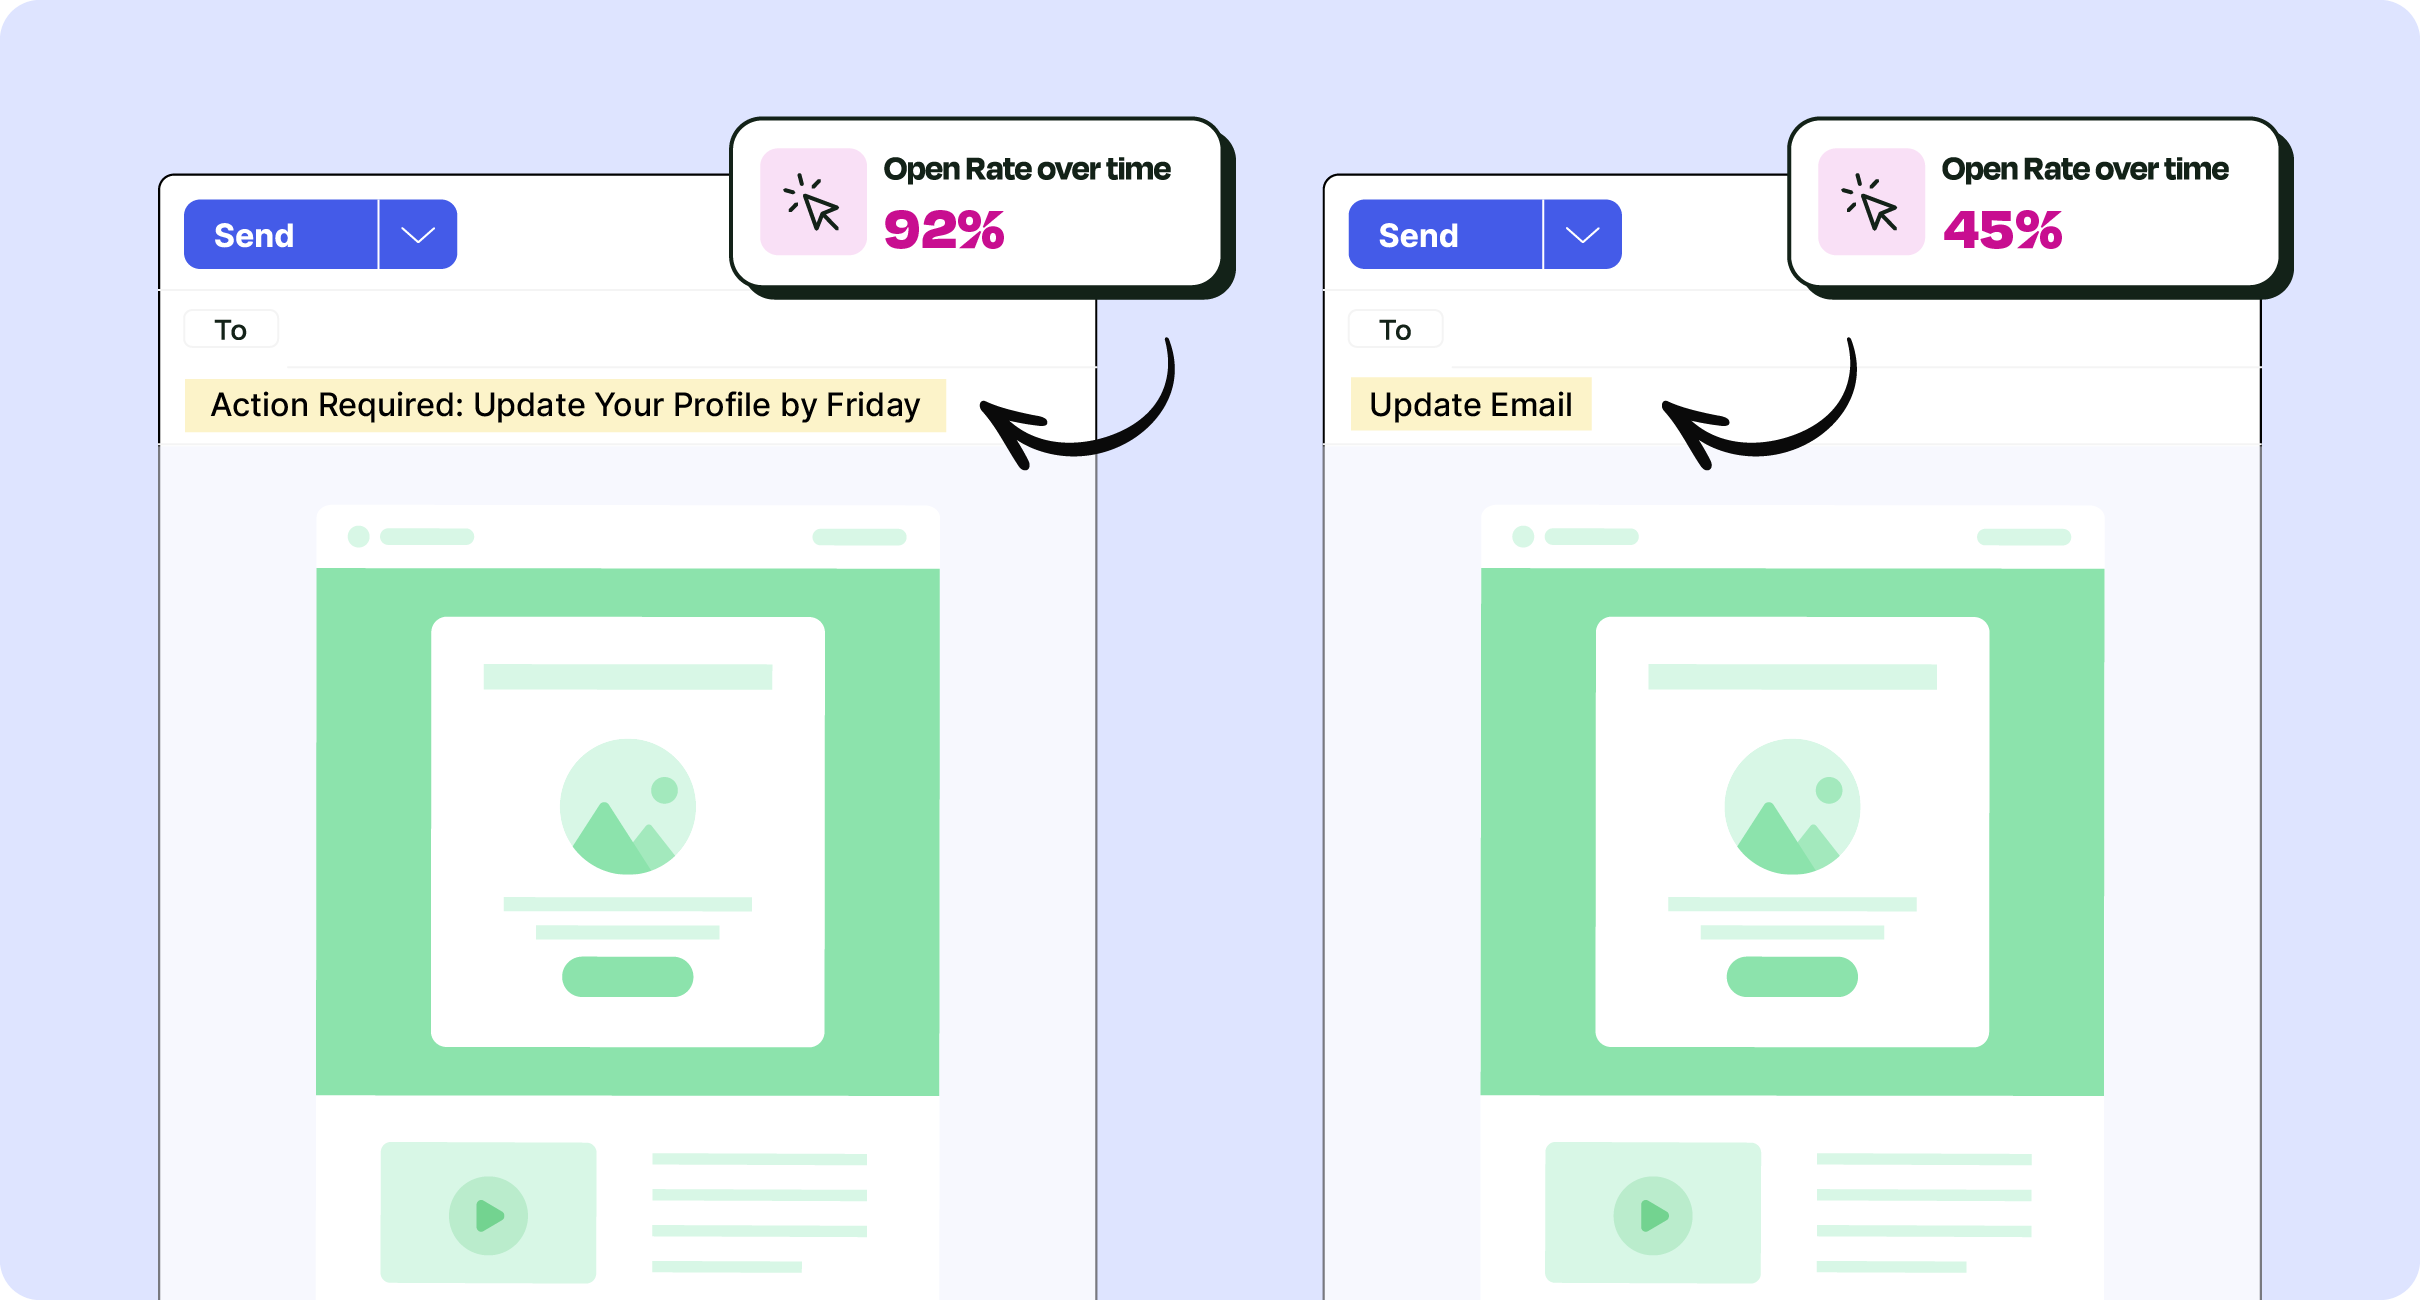
To cut through the noise, employees often prioritize emails that address them directly—and with good reason. Personalized email newsletters suggest that the information within is particularly relevant to the reader.
Ultimately, personalized emails are important because they increase the chances that employees open up your emails.
In turn, personalized emails help distribute information and resources across your workforce more efficiently. This leads to more productive and engaged employees across the board.
What Can You Personalize?
Embedding recipient names into the subject line and body text is the most popular email personalization technique. But some internal communications tools allow you to go beyond this.
With ContactMonkey’s employee engagement software, you can personalize:
- Email subject lines.
- Any email headers.
- All email body copy.
- Surveys in Outlook email.
- Email analytics to track individual employee engagement.
- Email content for different departments and employee groups based on analytics.
Avoid embarrassing mail merge hiccups with our complete guide to Outlook mail merge fails and how to fix them.
Organize your contacts with list management
Save time managing employee lists by syncing everything in one place.
Learn more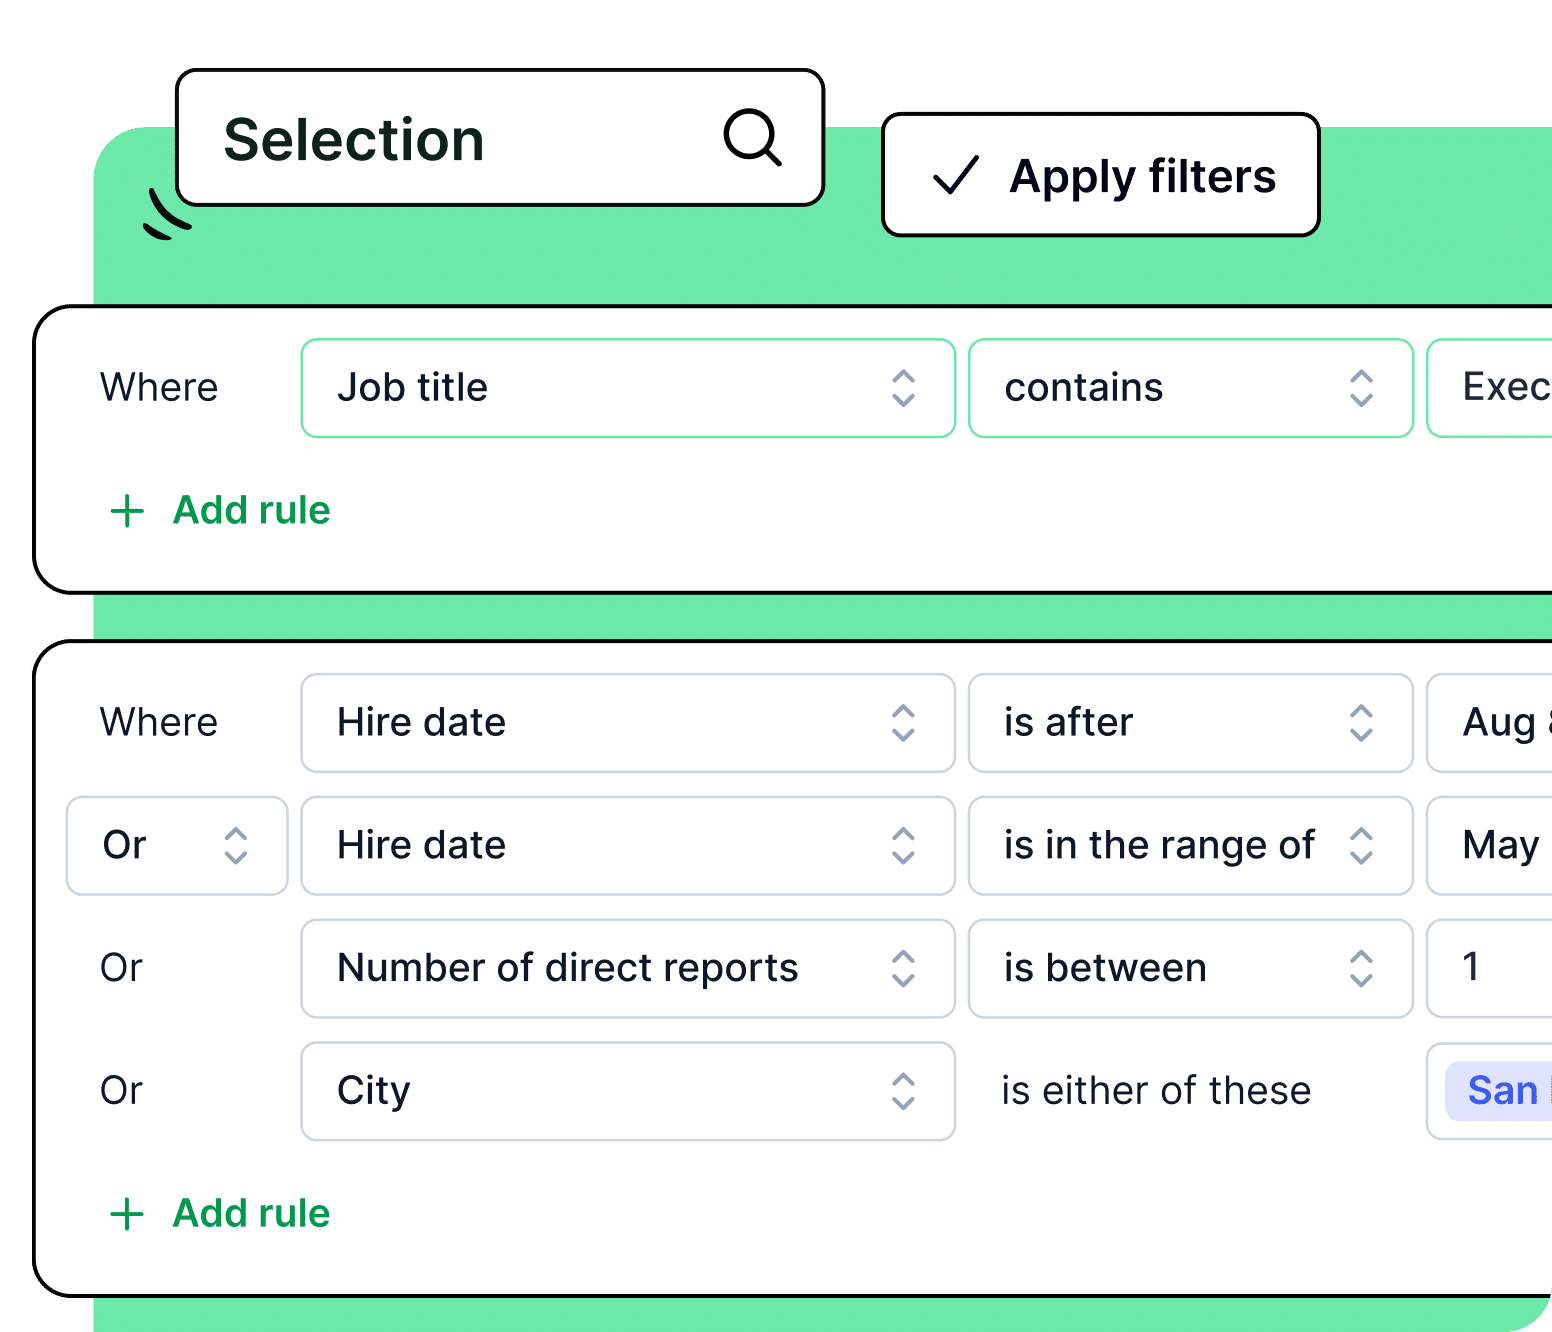
How to Send Personalized Employee Emails in Outlook With ContactMonkey
Most internal communicators already know the benefits of personalized emails. Yet many still avoid sending these types of internal communications. More often than not, it’s because they don’t know how to send a personalized email to multiple recipients.
ContactMonkey takes the hassle out of sending personalized bulk emails in Outlook. We break down the process step by step.
1. Manually create your CSV file
The first step to personalizing your internal emails is preparing your CSV file in Excel. This is a one-time step, but it’s important to do it right. If you have an existing CSV file or Outlook distribution list, you can skip this step.
Your CSV file contains the employee contact information that will be used to personalize your internal emails. Once your CSV file is ready, you’ll only need to update it if there’s a need to remove old emails or add new ones.
To properly format a CSV file in Excel, you’ll want to follow these steps:
- Title the first column in an excel file as “Email”, and copy your recipients’ email addresses.
- Check that emails are formatted correctly, with each containing a domain and no spaces before/after.
- Ensure that column names are all one word, and don’t contain any spaces.
- If you have custom column names, they must all be lower case letters
- Ensure that there are no duplicate email addresses
- Remove any columns not being used as a merge field
- Your CSV file should be saved as CSV UTF-8 (Comma delimited) (*.csv)

Learn how to format a CSV for ContactMonkey with our step by step guide.
2. Create email lists using ContactMonkey
Many companies delegate email list creation to their IT departments. This can lead to increased wait times for internal communicators wanting to create custom email lists.
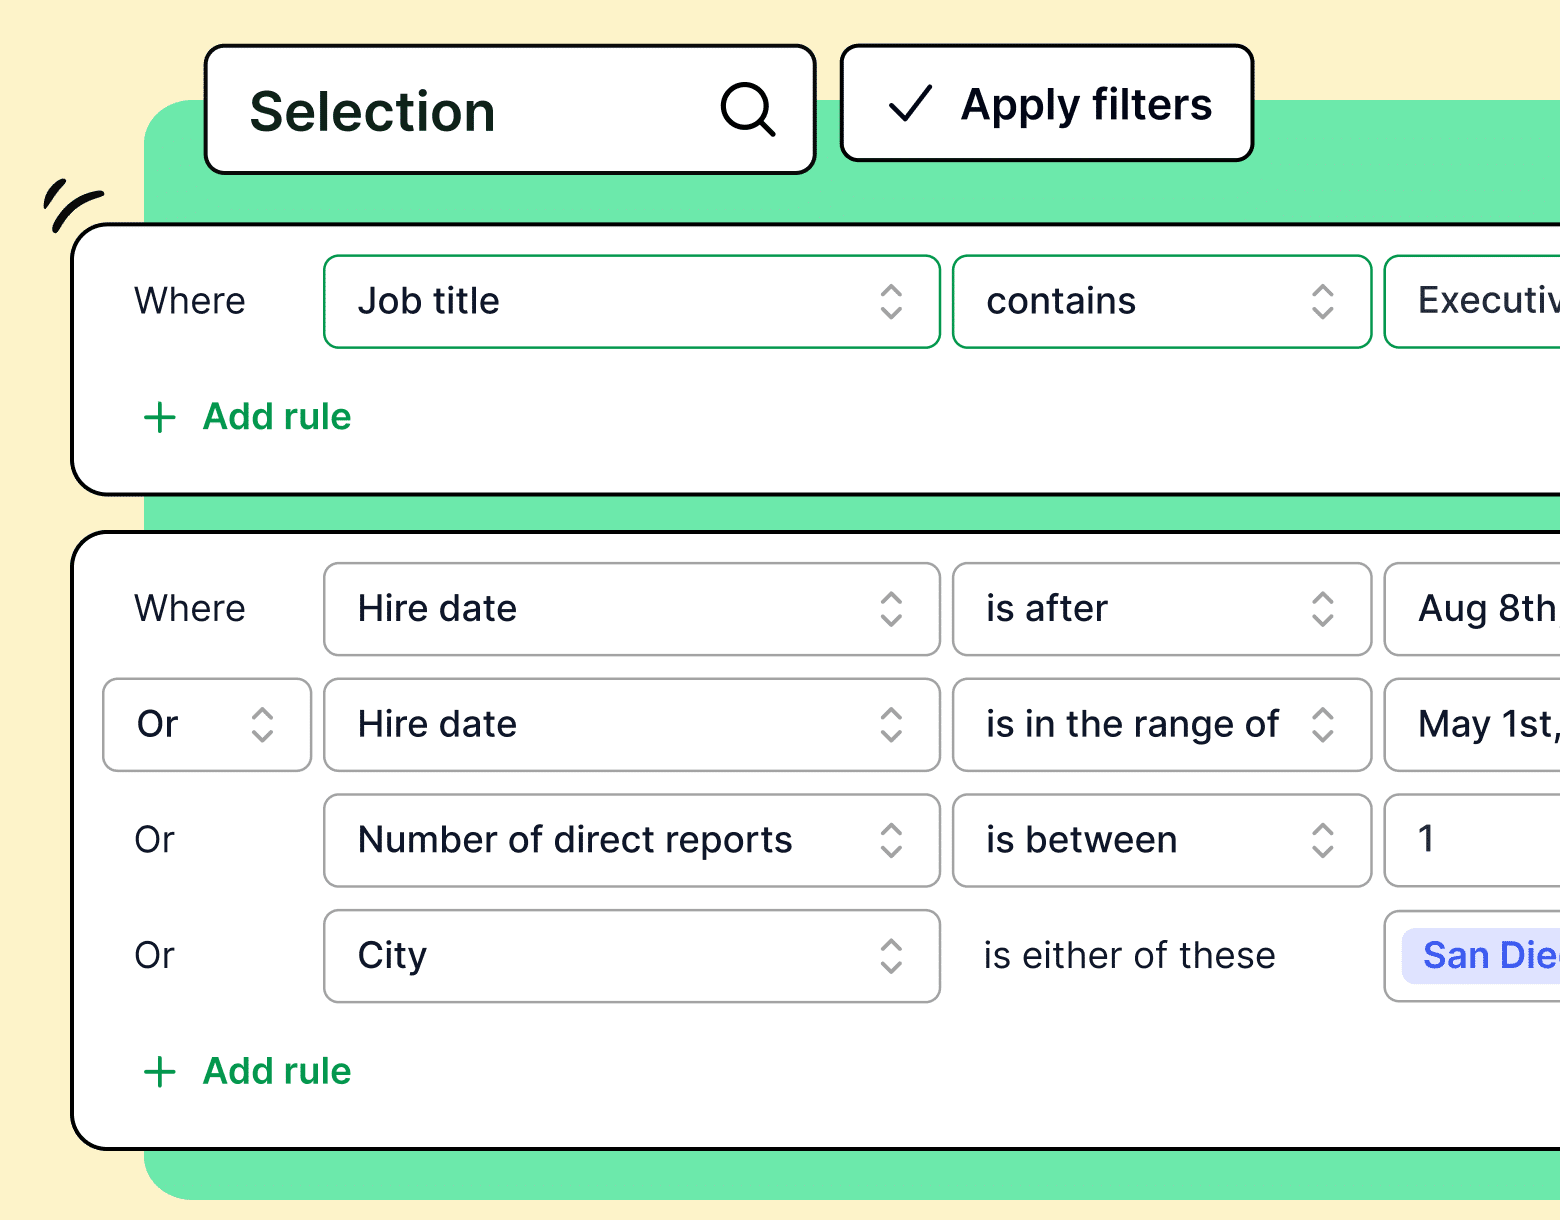
With ContactMonkey’s internal email List Management feature, you can quickly create your own email lists without having to wait on your IT department:
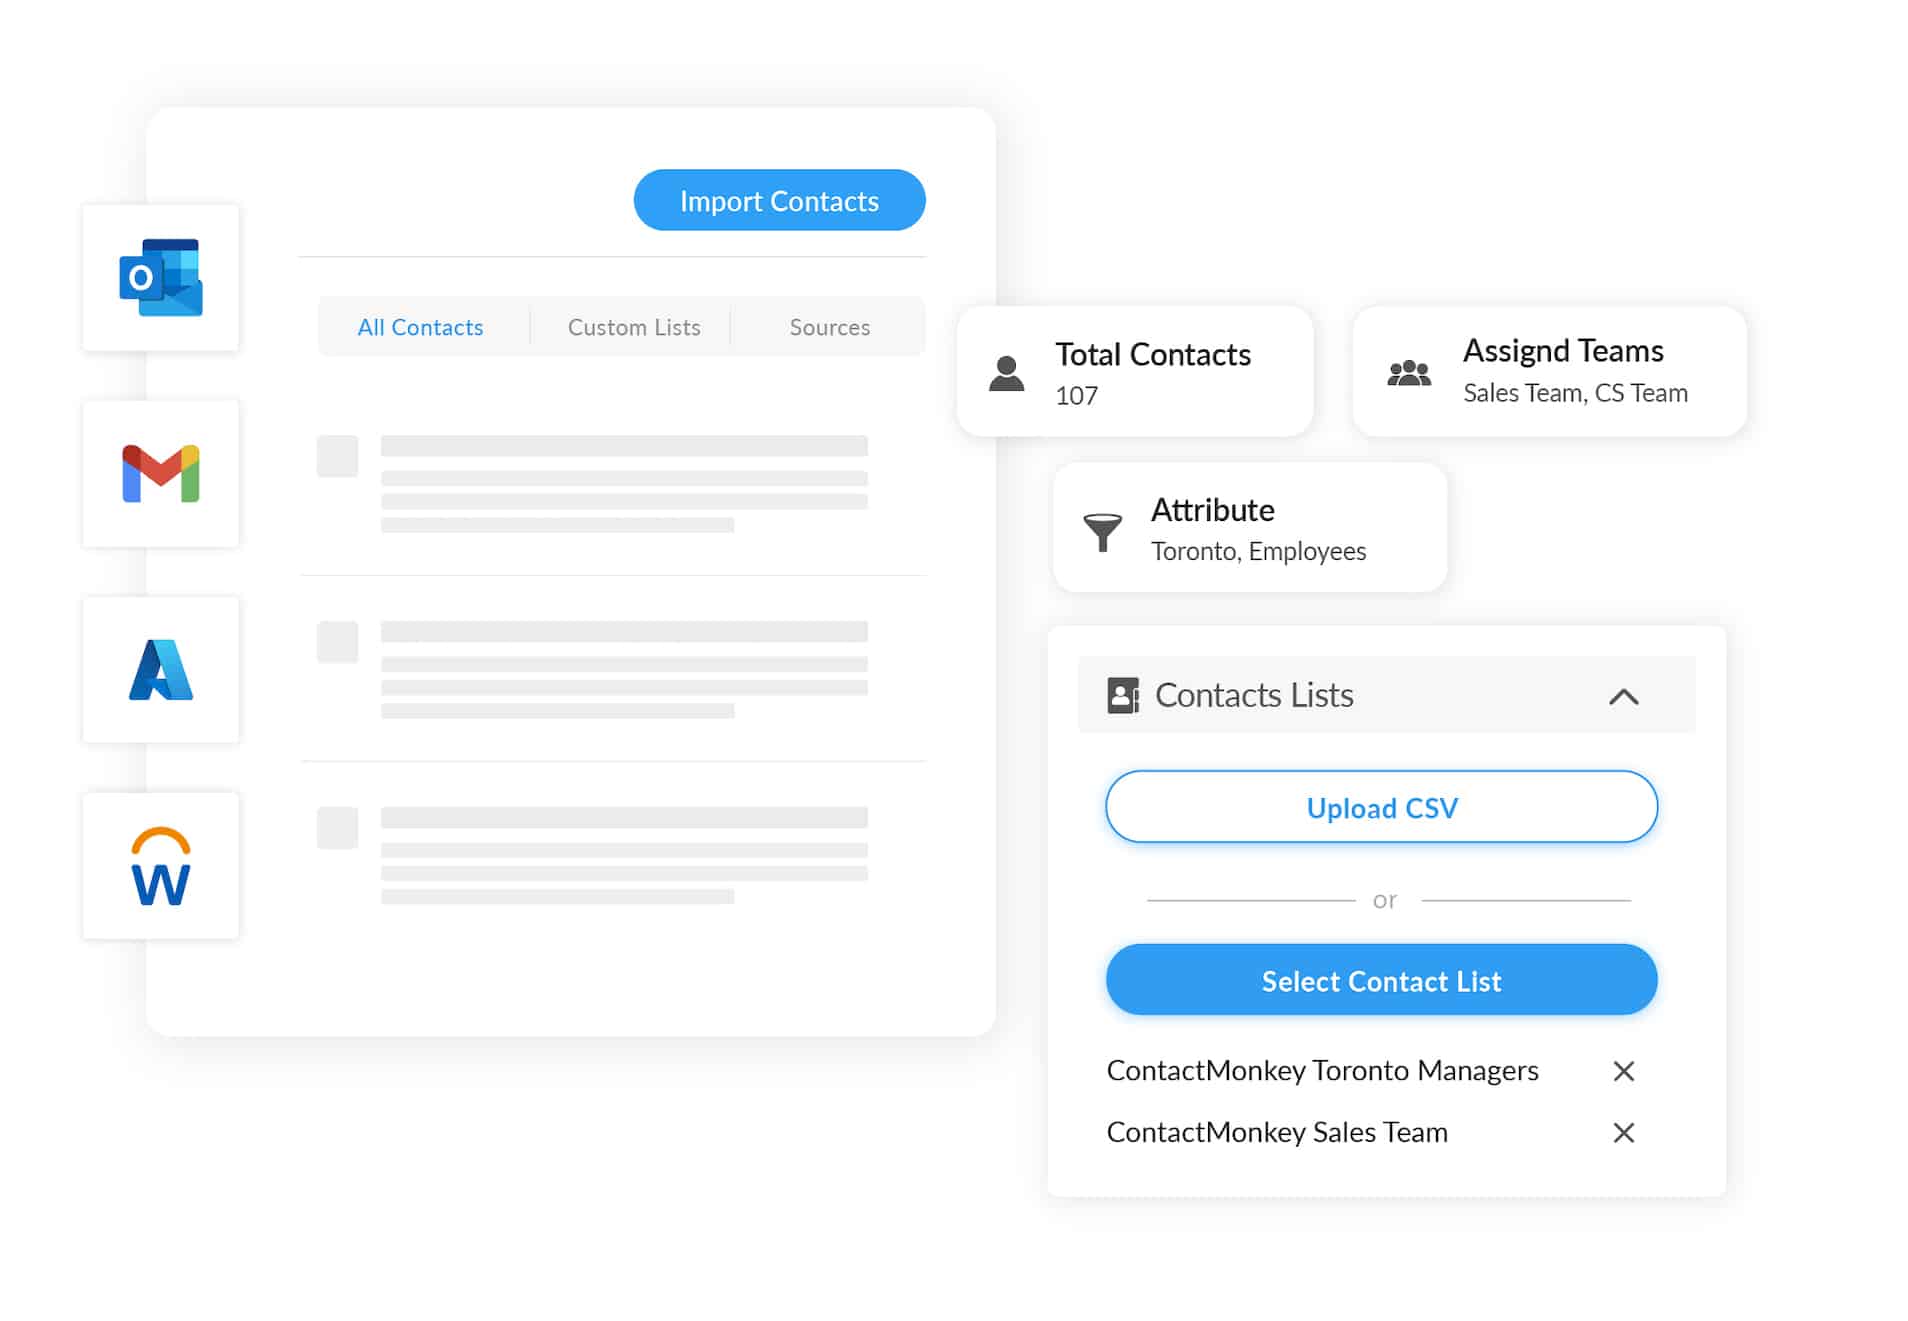
ContactMonkey integrates with your Human Resource Information System (HRIS) like Workday and ADP, as well as Azure Active Directory, so your custom lists will update automatically as employees join and leave your organization.
3. Choose or create your email template design
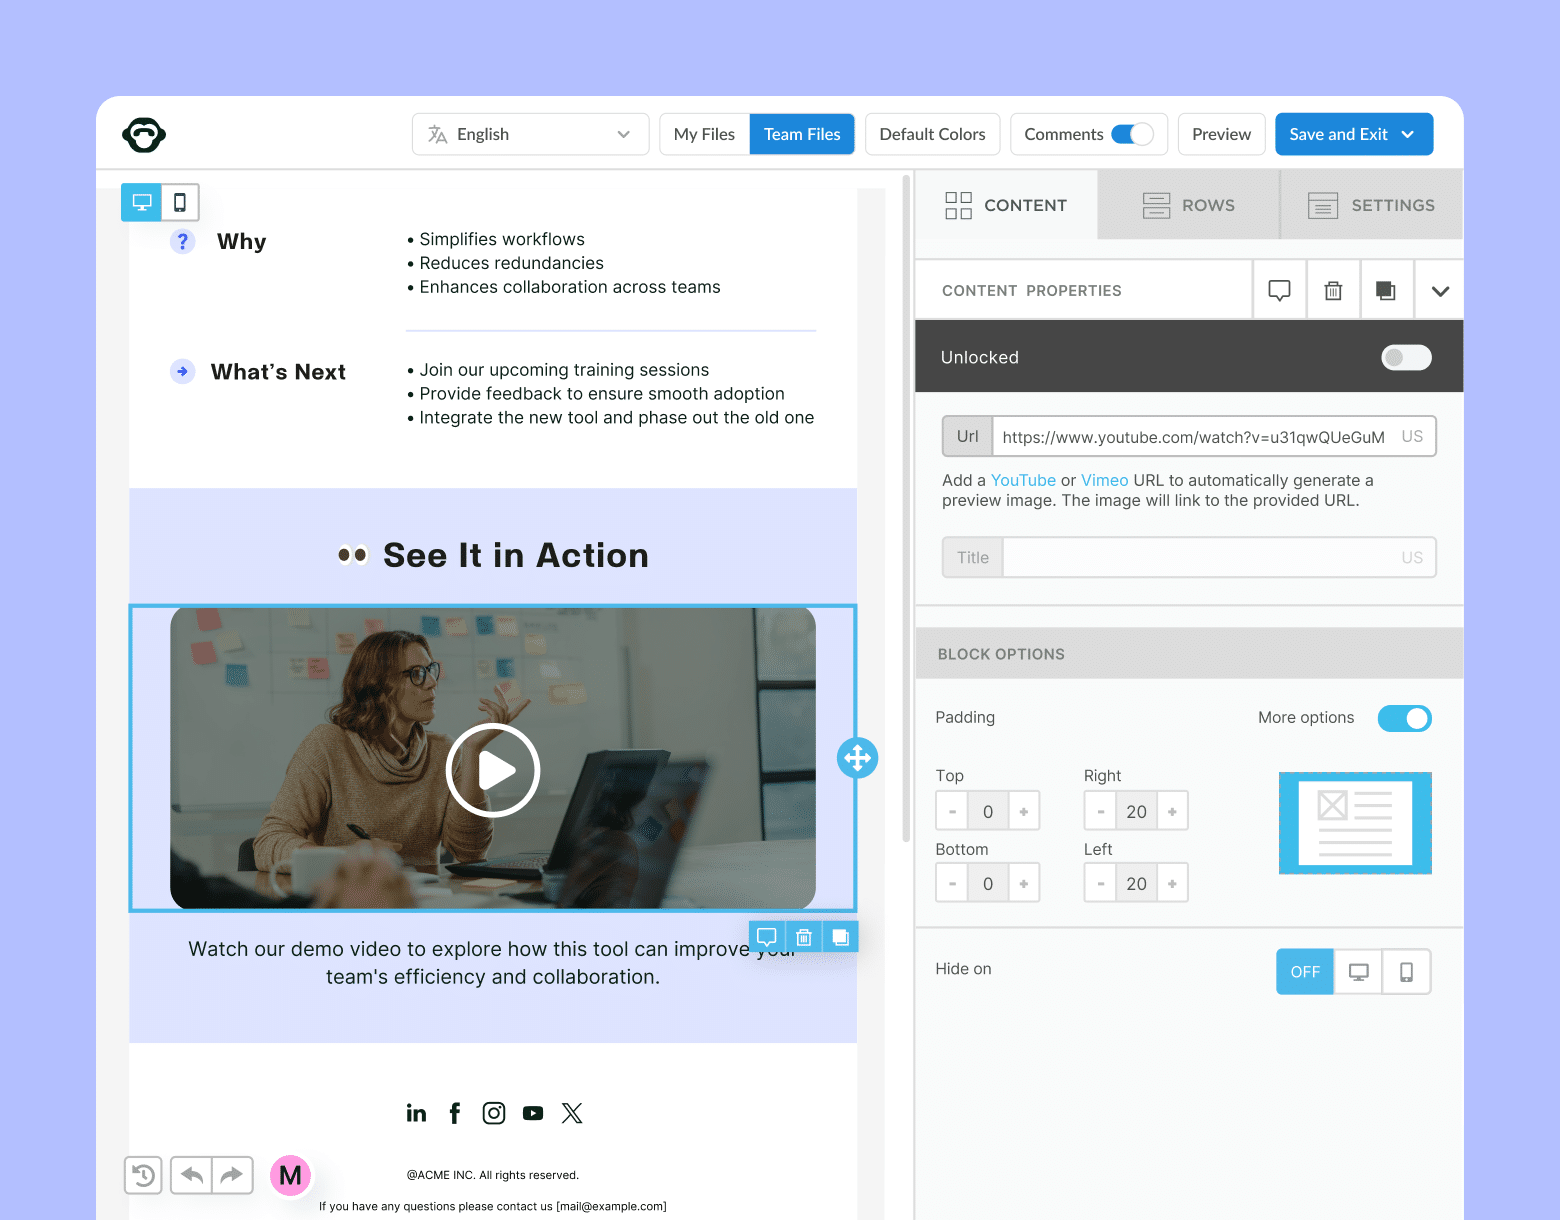
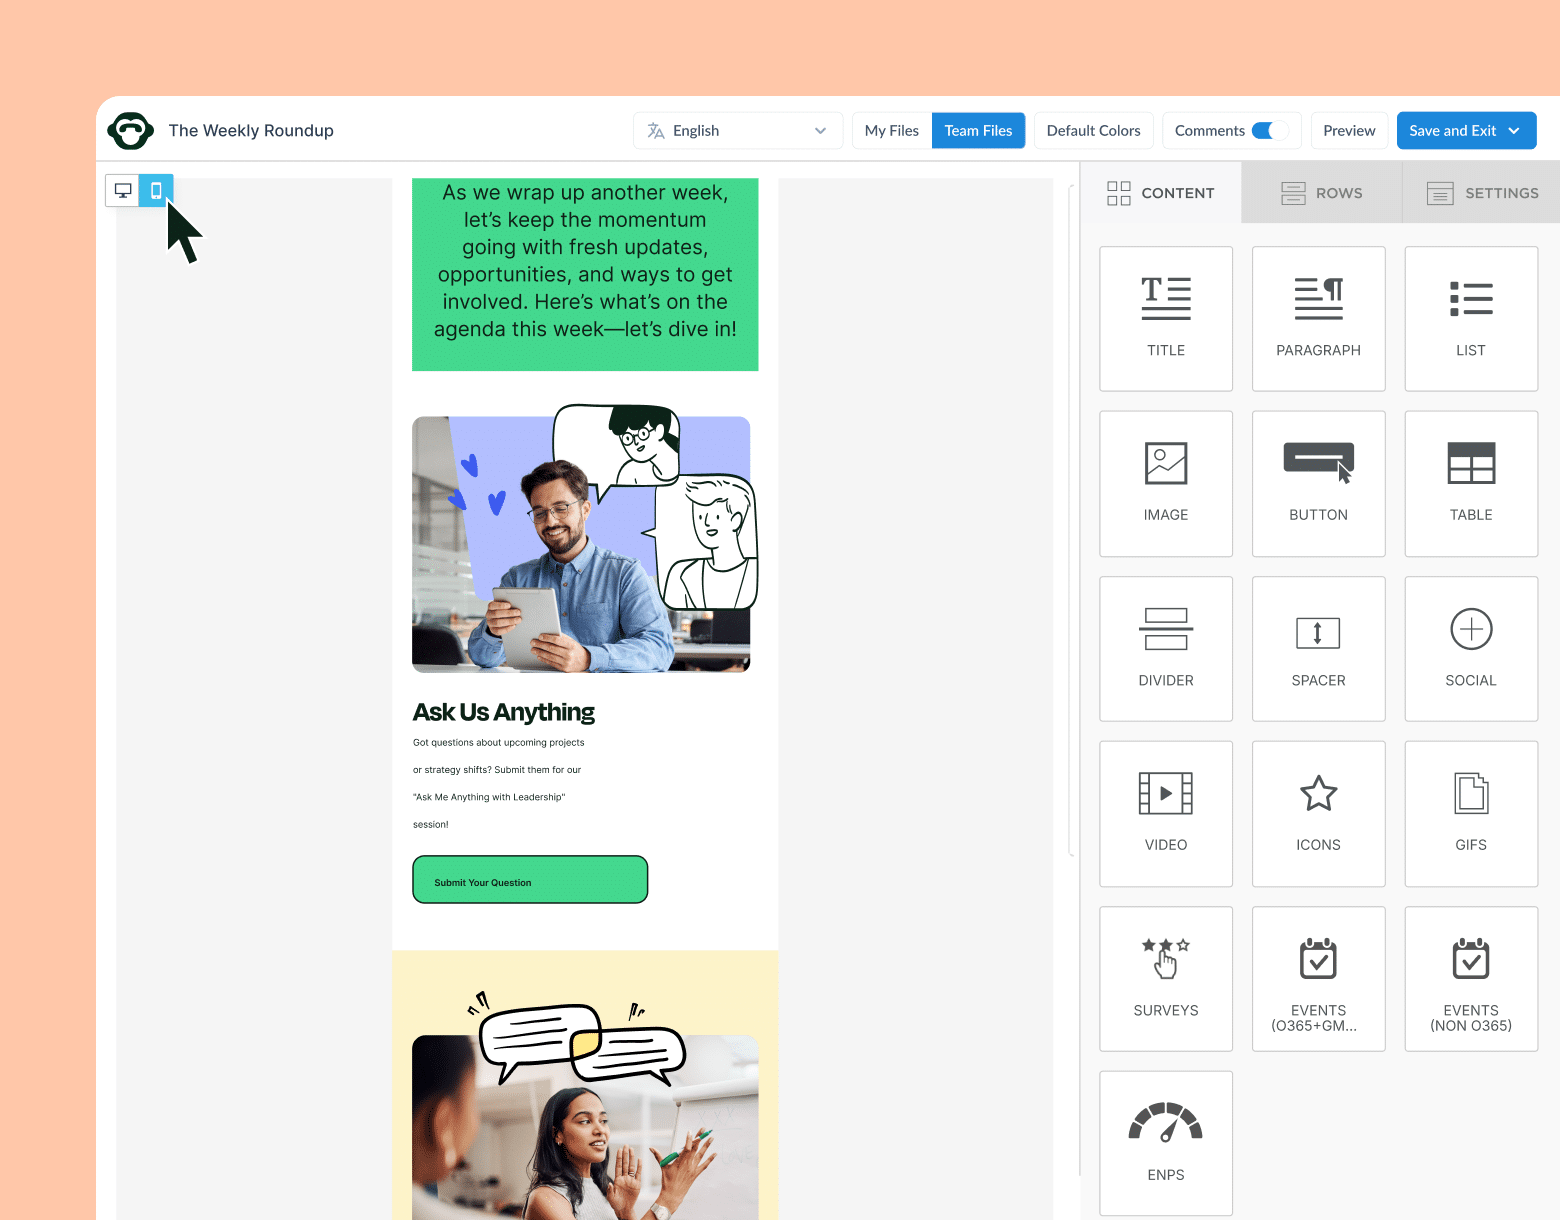
With a ContactMonkey account, you’ll have access to our internal email builder and dozens of pre-made responsive HTML email templates. All of our Outlook email templates can be personalized, so the first step is to choose the design you like the most.
Whether you choose a pre-made template or start from scratch, our drag-and-drop email builder will let you customize any of the template elements. You can embed animated GIFs, custom pulse surveys, email tables, and even team photos and videos to add a personal touch.
Want to leave email design to the pros? Enlist our experts with ContactMonkey’s email template design service for Outlook.
Not sure what to include in your email? ContactMonkey’s OpenAI ChatGPT integration can help you by creating text based on prompts you provide. Simply describe what content you’d like, and then edit and customize the output text according to your audience.
Build engaging, interactive employee emails in minutes
Build amazing emails quickly and easily using our drag-and-drop template builder. No design or technical expertise needed.
Explore email builder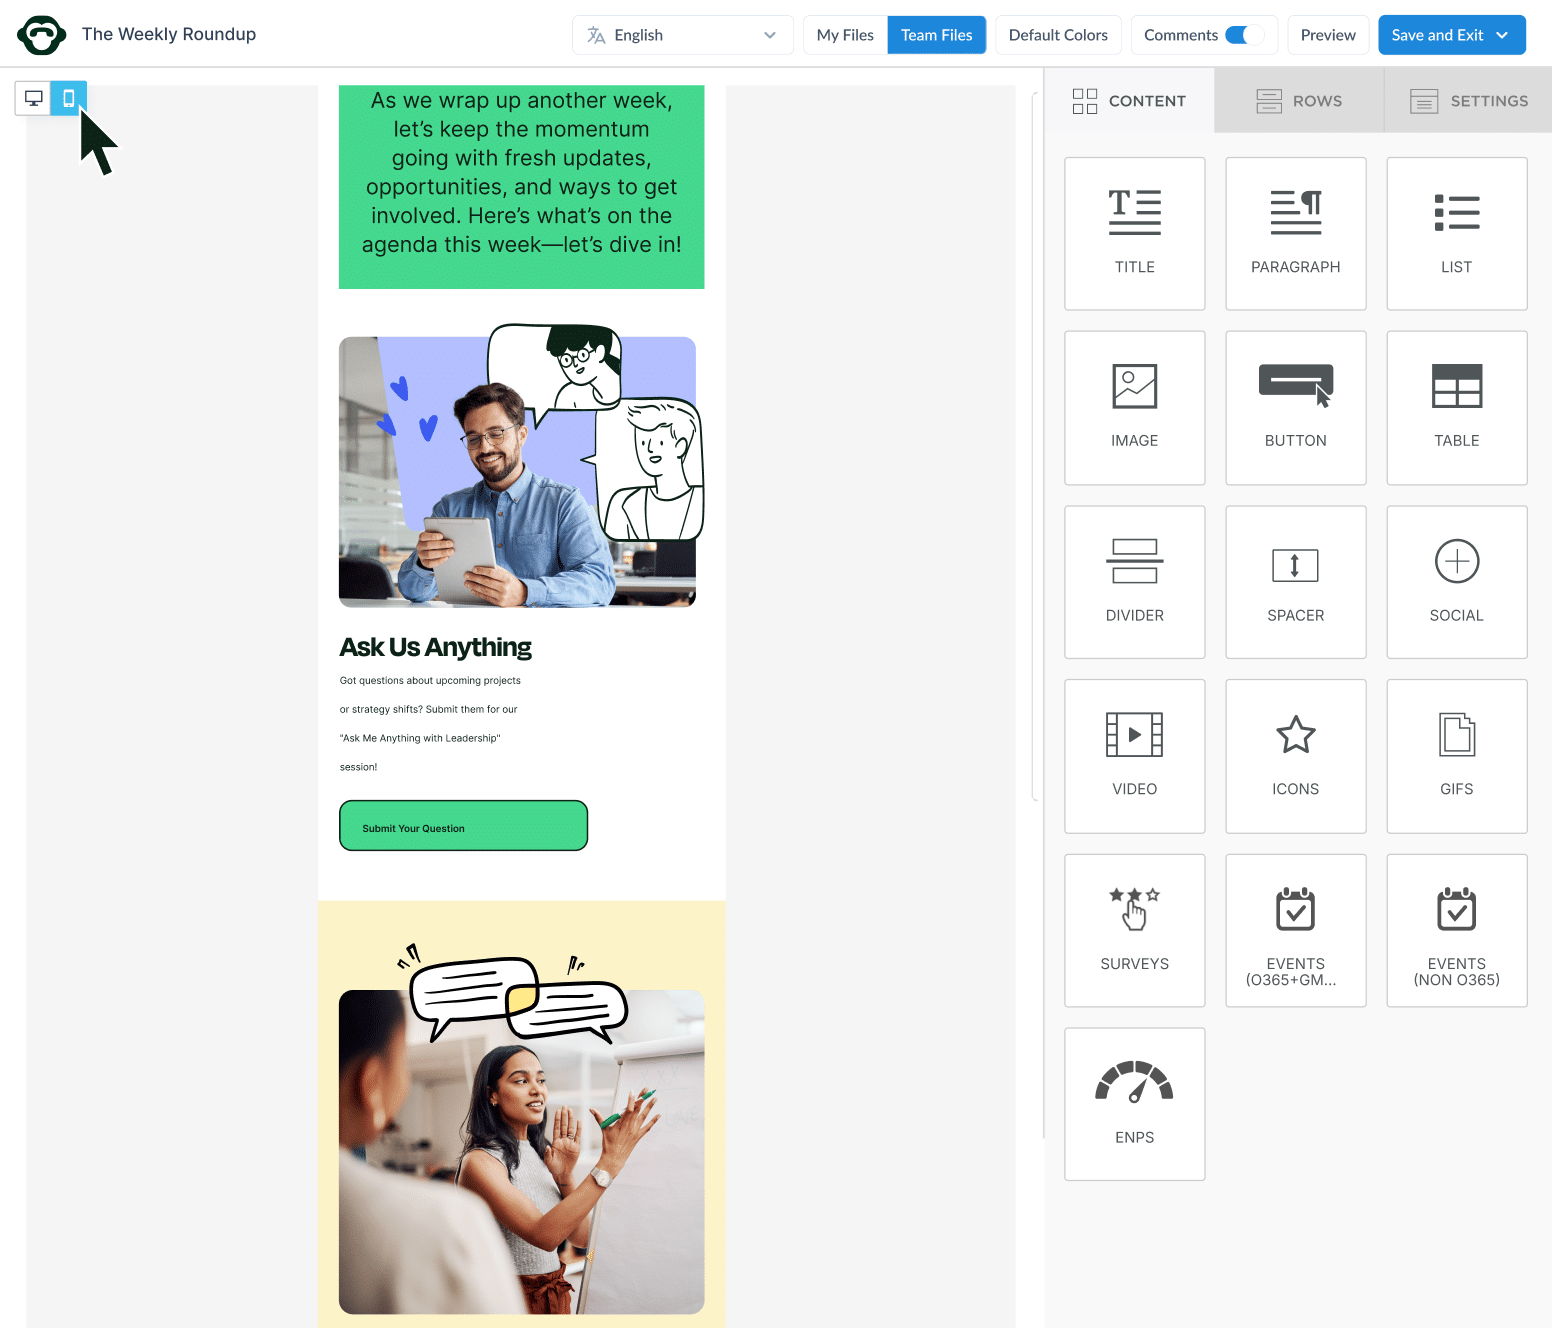
4. Add recipient names to your email template
Once your template design is set to your liking, it’s time to personalize it with ContactMonkey’s Merge tags. These can be added by hovering your cursor over the text element you want to personalize. You’ll see a menu appear with a tab labeled “Merge Tag.”
Click on the tab and you’ll be prompted to choose from “Display Name,” “First Name,” and “Last Name.” Once you select your preferred option, you’ll see a merge field appear next to your chosen text element.
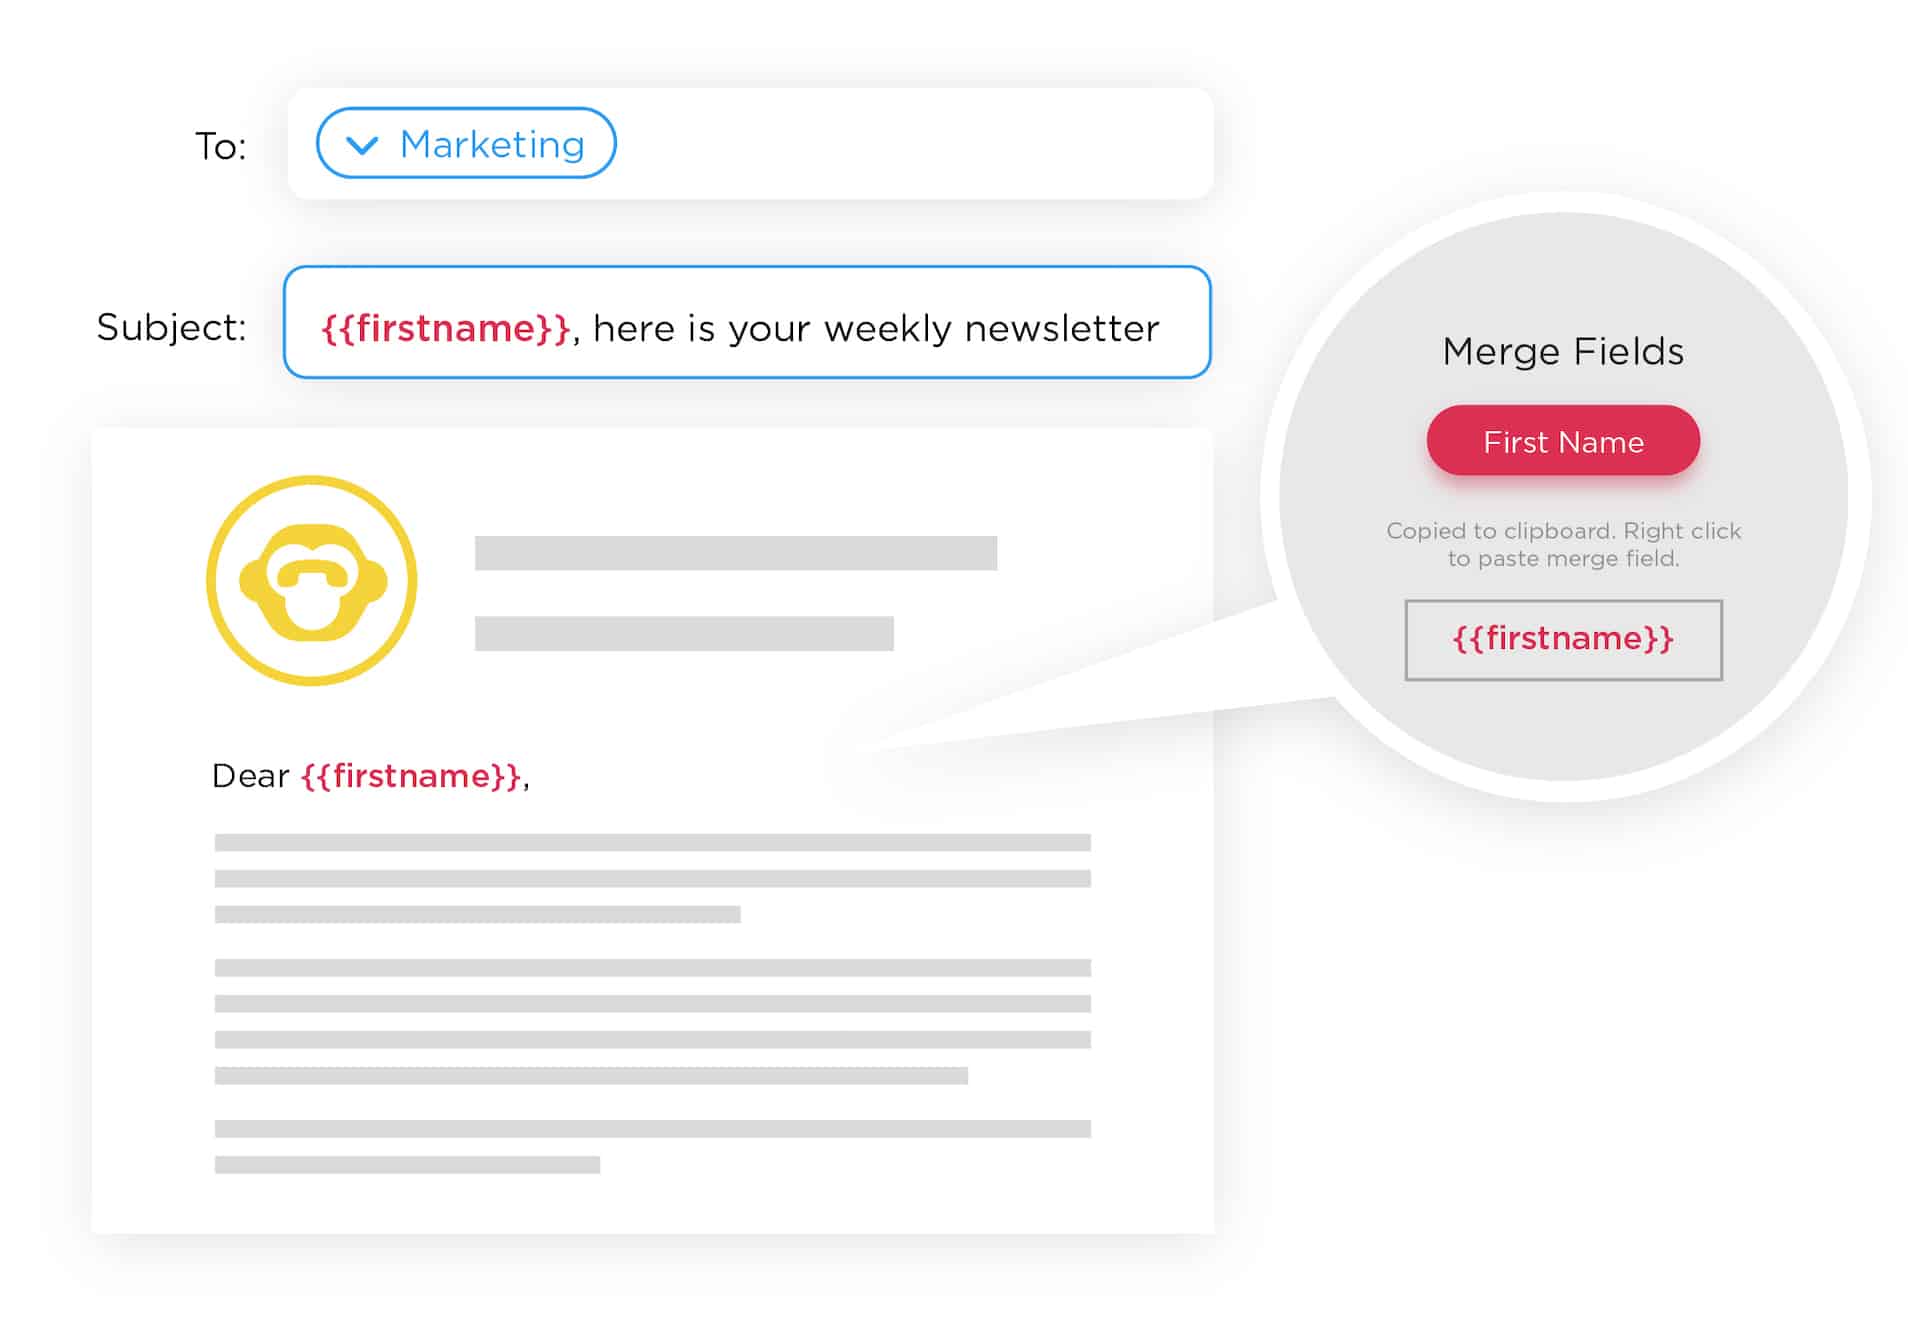
For instance, if you chose “First Name,” you’ll see {{firstname}} appear next to the chosen text element in your email template. This is going to select the first name from your CSV file associated with that specific email address.
5. Import your template into Outlook
Once your template is ready, you can go into Outlook and import your template using the ContactMonkey sidebar. Here, you’ll have access to all of your saved email templates.
Once you’ve made your selection, you’ll see your template embedded into your ‘compose’ window in Outlook.
Gather employee feedback straight from your newsletter by embedding surveys in Outlook email.
Set individual email tracking
For personalized emails, you’ll need to select “individualized tracking” in your ContactMonkey sidebar. This enables the email to be tracked on an individual basis.
With this type of tracking, you’ll be able to see individual email open rates, click-through rates, opens by device and location.
These email metrics will help you develop a data-based internal communications strategy tailored to specific teams or groups of employees.
Does your organization have internal or external regulations around email privacy? You can still gather email metrics while protecting your employees’ privacy using ContactMonkey’s anonymous email tracking.
Preview and send your personalized employee email
Your personalized email is almost ready to go. But before you hit “Send,” you’ll want to set your email tracking options and conduct a test send to ensure that everything’s in order.
Using the preview function within ContactMonkey’s email template builder, you can see what your email will look like in your employees’ inboxes, even on various devices.
When you’re happy with the results, hit “Send and track” in your send sidebar. Your internal email analytics will begin rolling into your ContactMonkey dashboard.
Increase Email Engagement with ContactMonkey’s Personalized Internal Emails
The truth is, no one enjoys getting an email that has clearly been sent to thousands of people. Personalized multilingual internal emails make each message unique, direct, and more captivating. In turn, this helps boost email open rates as well as employee engagement.
By simplifying the process of sending personalized emails in Outlook, ContactMonkey makes email personalization a no-brainer. Create personalized employee emails in minutes with ContactMonkey’s mail merge. Book your free demo to see ContactMonkey in action.
