Have you ever googled “how to send HTML email in Outlook” or “how to create HTML email in Outlook”, only to end up frustrated by broken links and off-center designs? You’re not alone! If you’ve ever experienced Outlook rendering issues when sending responsive HTML emails, this blog is for you.
When it comes to coding and sending HTML emails in Outlook, things can get super complicated. It can be hard to make your emails look good in Outlook.
Outlook will usually take email templates you worked so hard on and render them with broken links, missing pictures, and misaligned layouts.
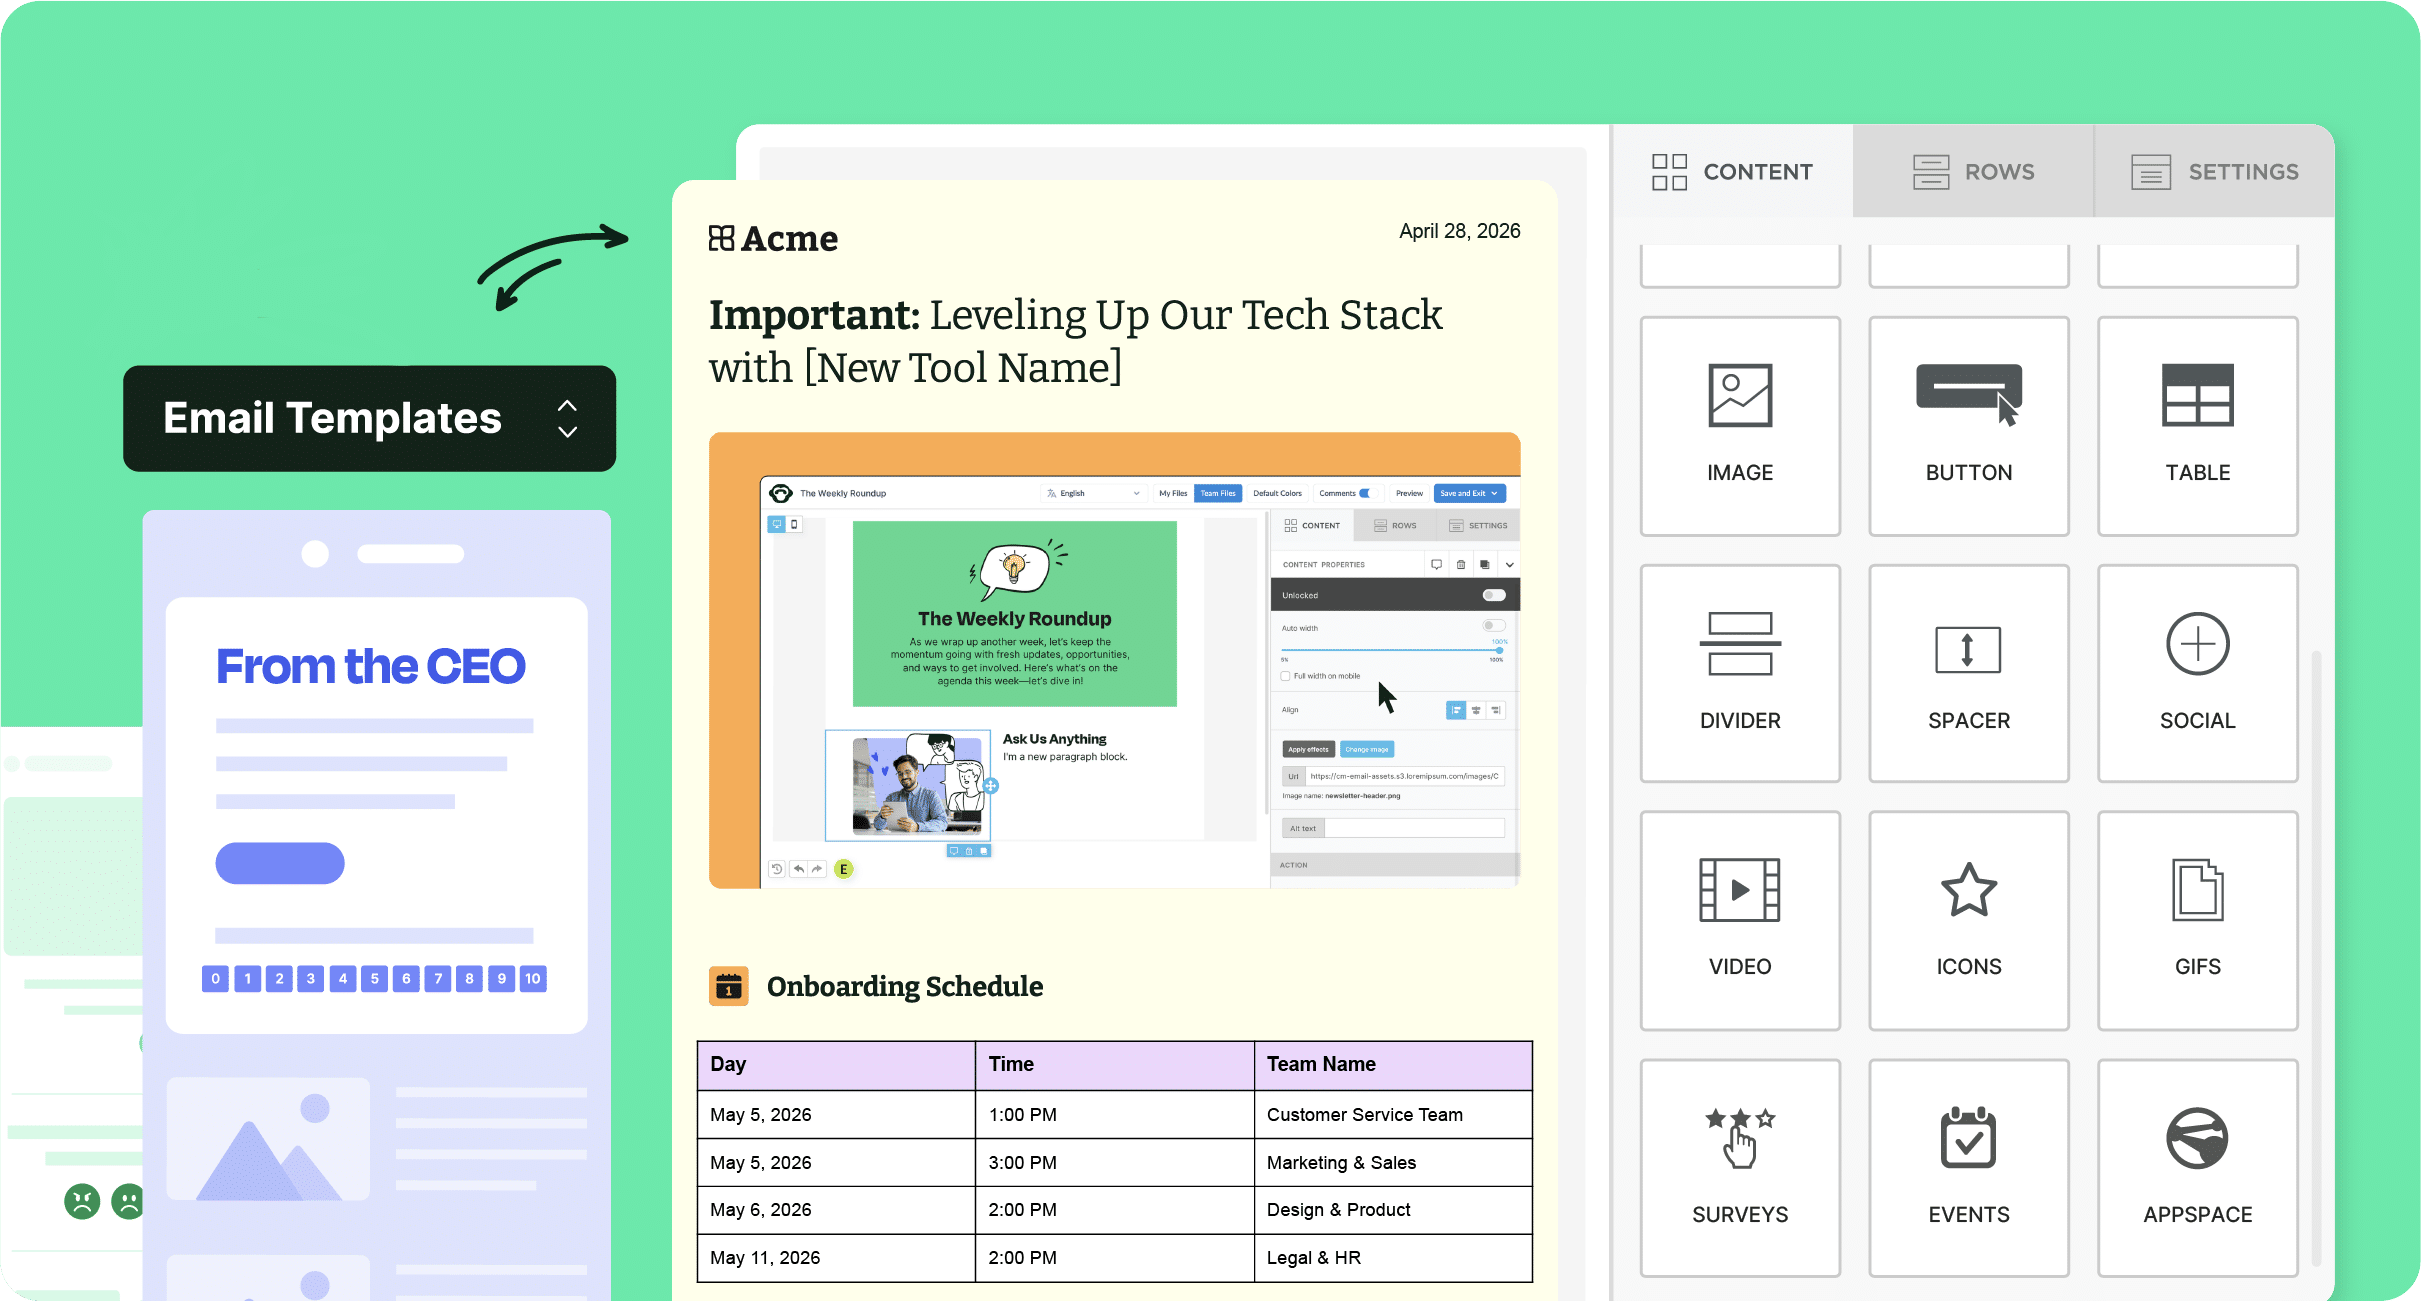
Long story short: to avoid common Outlook email rendering issues on your internal communications, you need to use a dedicated HTML internal email builder like ContactMonkey. Use our drag-and-drop email template builder to create stunning Outlook HTML email templates for your internal communications—all without writing a single line of code.
Take a self-guided tour of ContactMonkey
See how our key features can streamline your internal communications.
Take product tour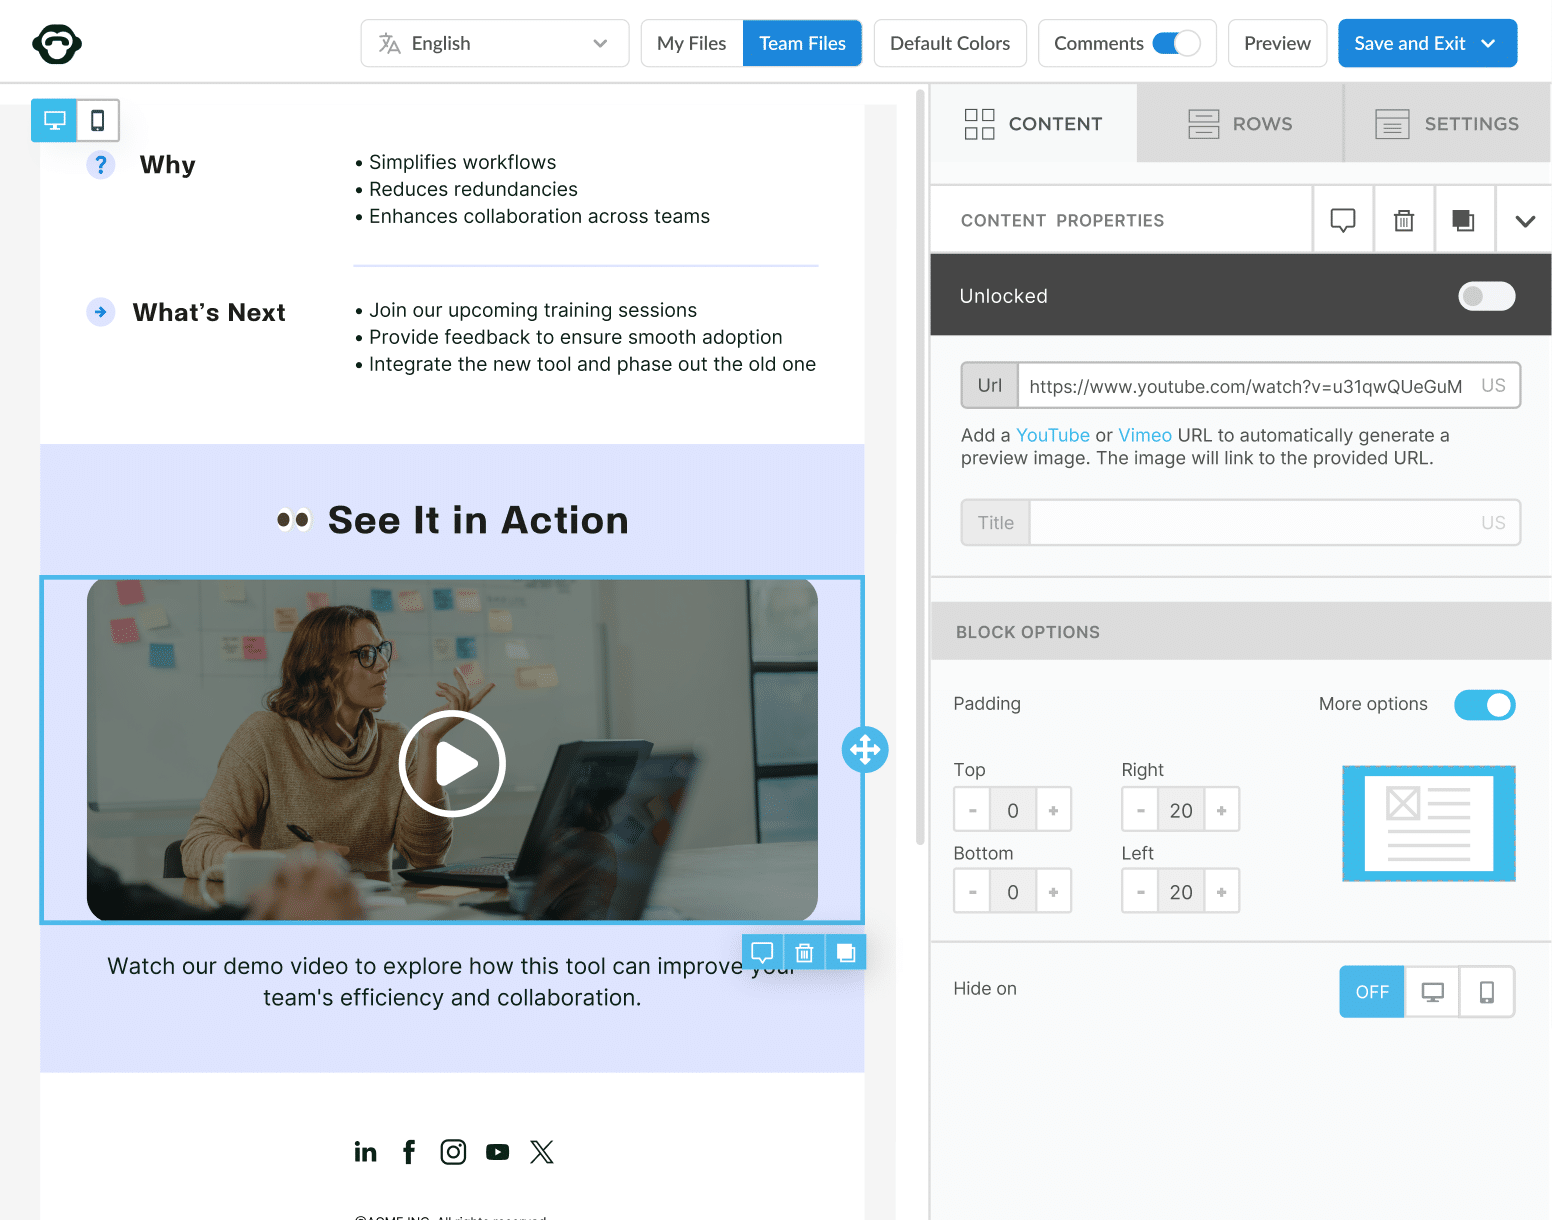
6 Tips to Eliminate Outlook Rendering Issues & Create HTML Email Newsletters in Outlook
Sending HTML email in Outlook isn’t for the faint of heart. Having a knowledge of HTML will help, but not every Outlook user has time to learn a brand new (coding) language.
We’ve compiled a list of our top 6 tips to help you avoid Outlook not rendering your HTML or rendering it incorrectly:
1. Use ContactMonkey’s drag-and-drop email template builder to build responsive HTML email templates
If you’d like an easier way to build employee newsletter templates or create stunning email templates for Outlook, check out ContactMonkey’s email template builder.
ContactMonkey is an internal communications solution that works with your existing Outlook account. It allows your team to create, send, and track emails while measuring their performance.
When you use ContactMonkey in Outlook, your emails will look exactly how you designed them because you’re designing in Outlook.
Here’s how it works:
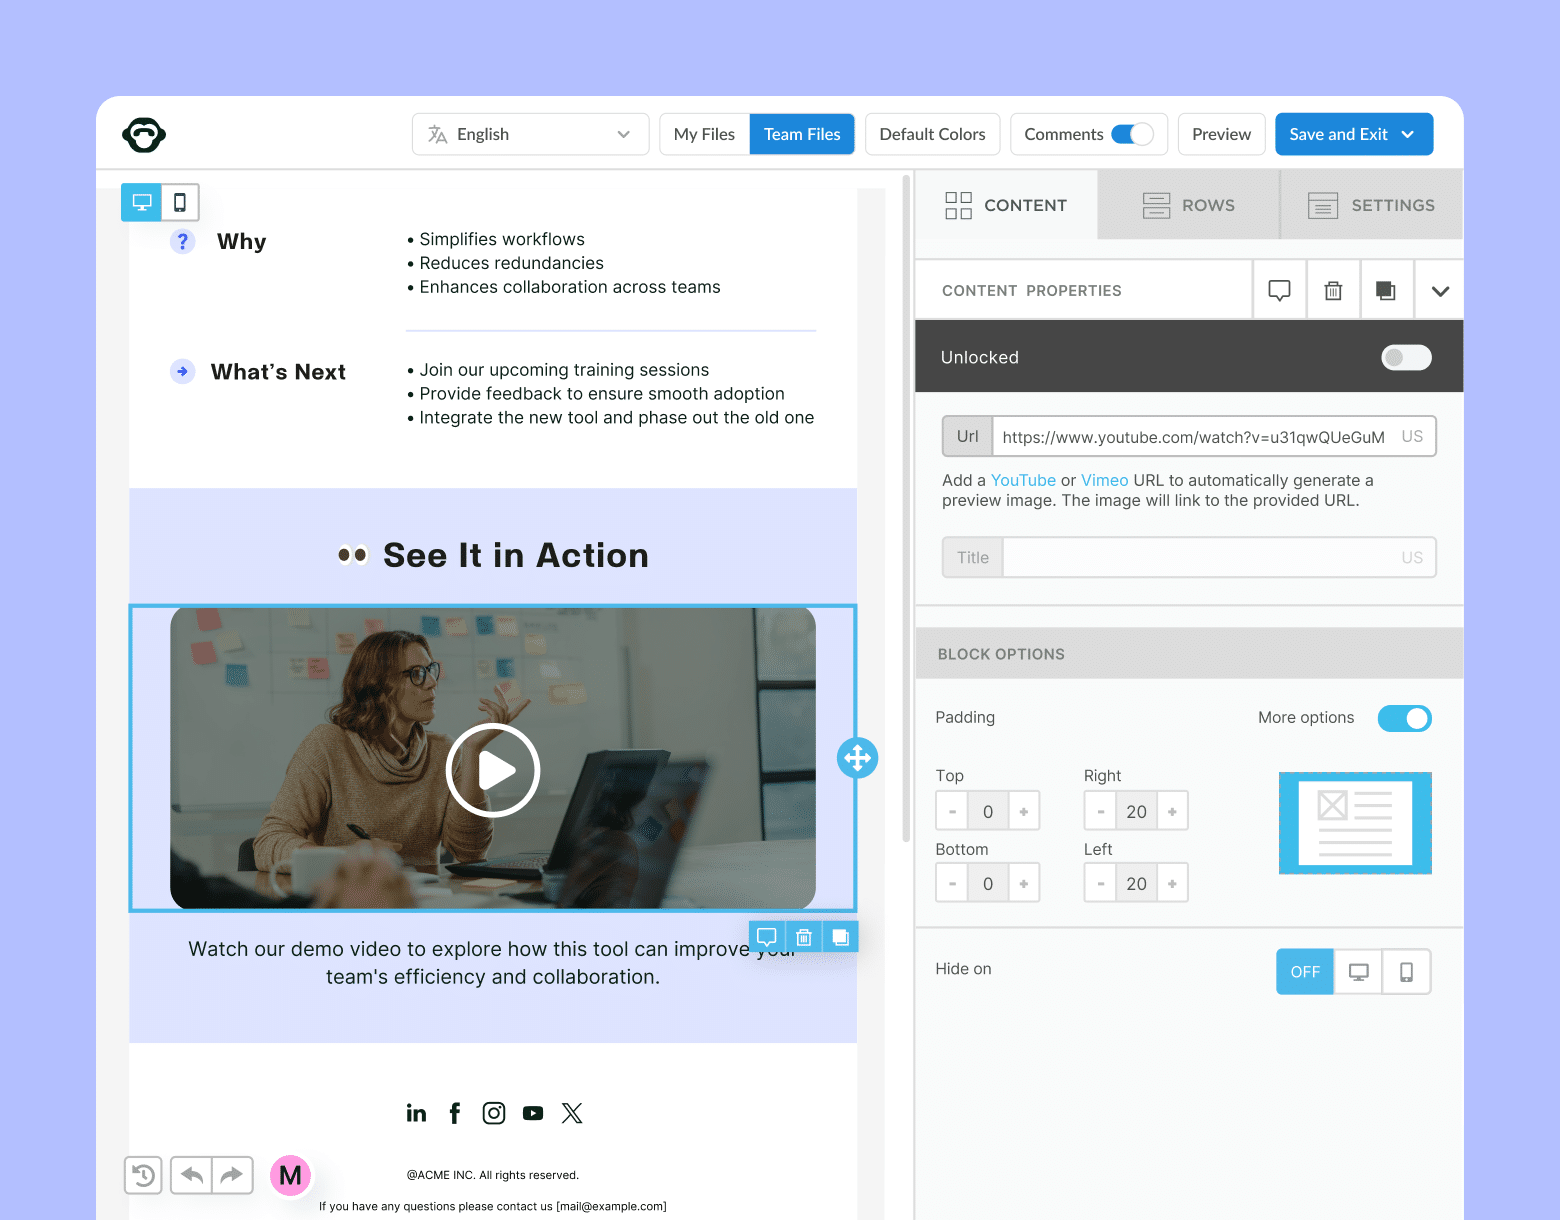
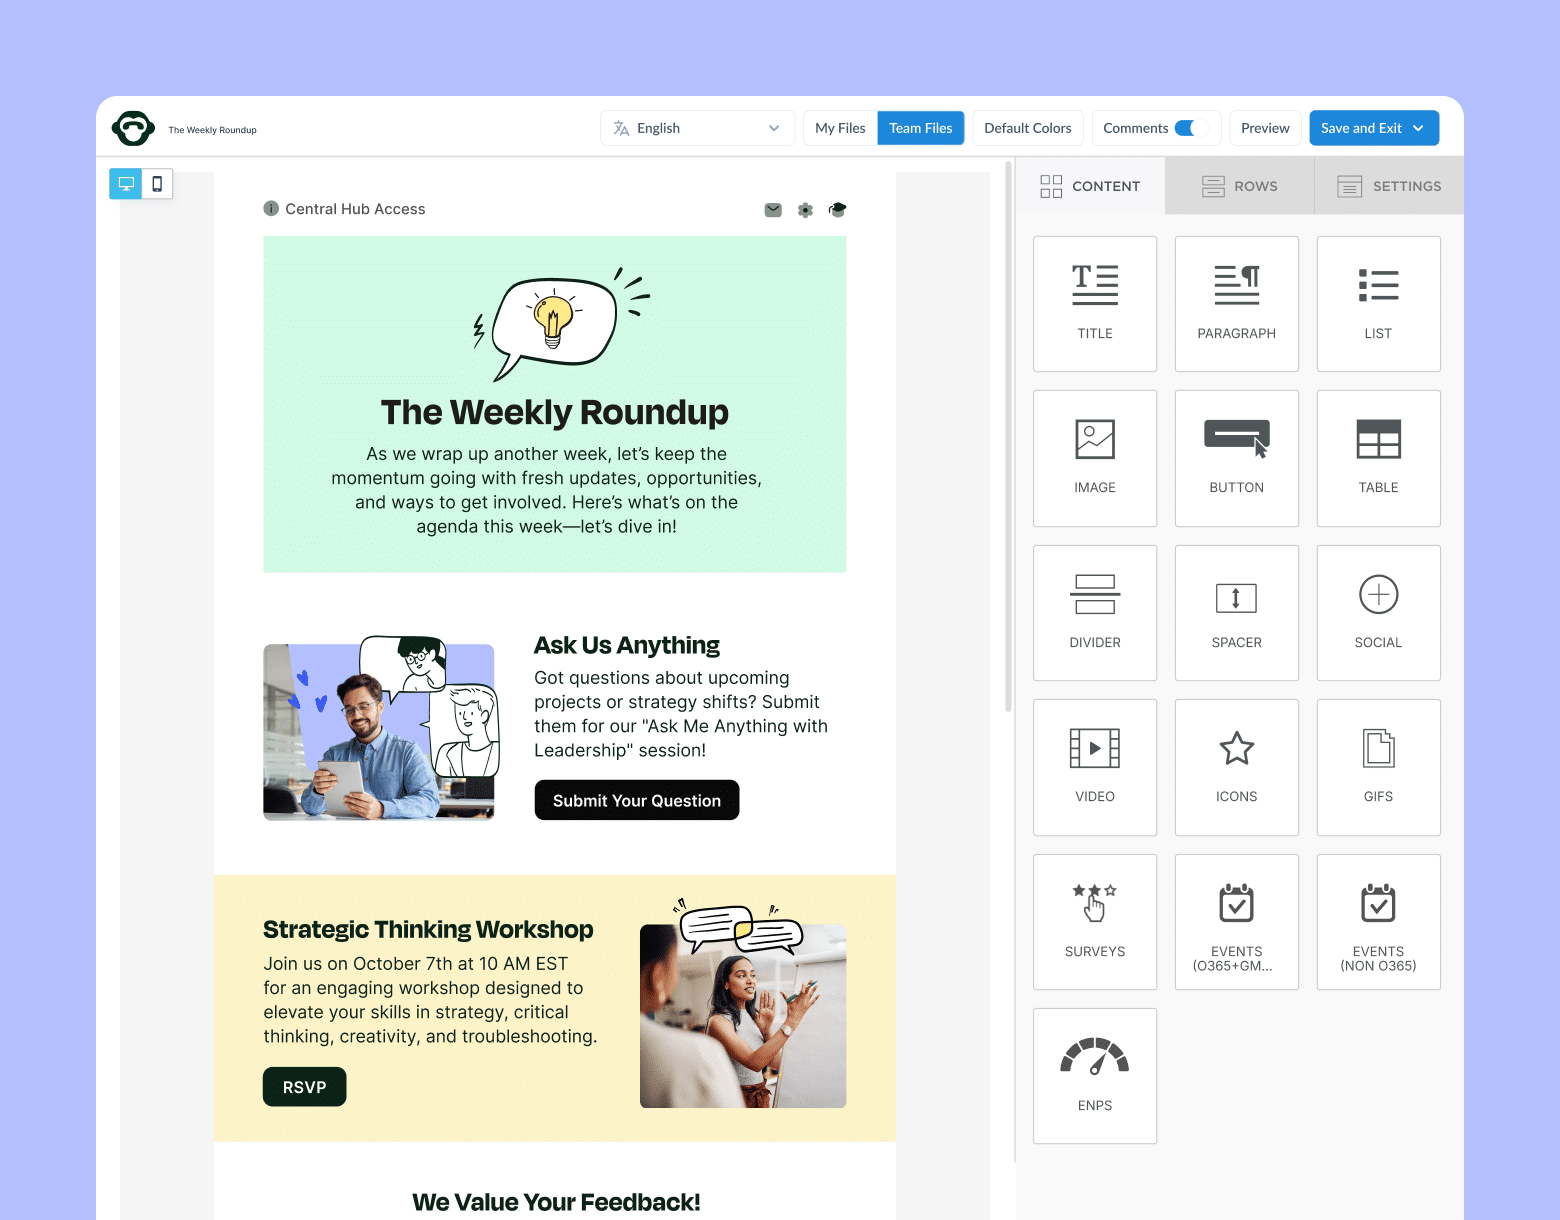
Craft your Outlook HTML email templates using the drag-and-drop template builder. Simply drag the content you want from the sidebar onto your template to create a beautiful email newsletter.
ContactMonkey has numerous features to let you take control of your internal communications.
- With email collaboration, you can have multiple users working on a single template and track their progress just like on Google docs.
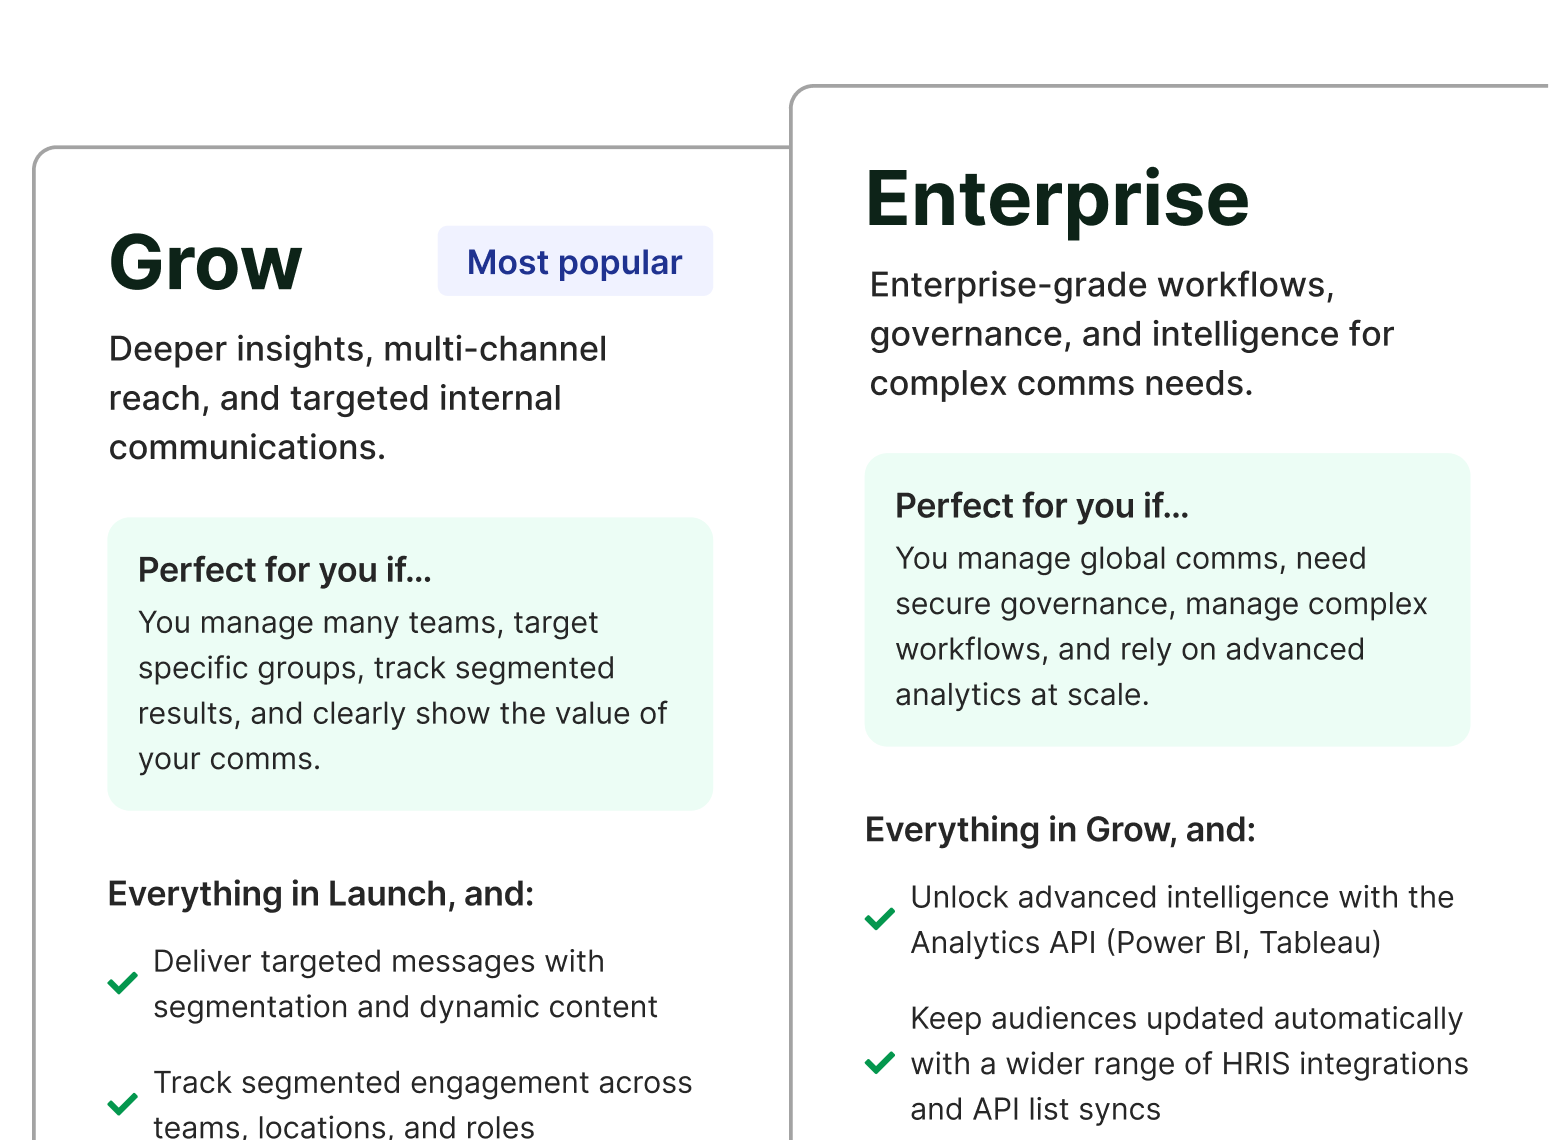
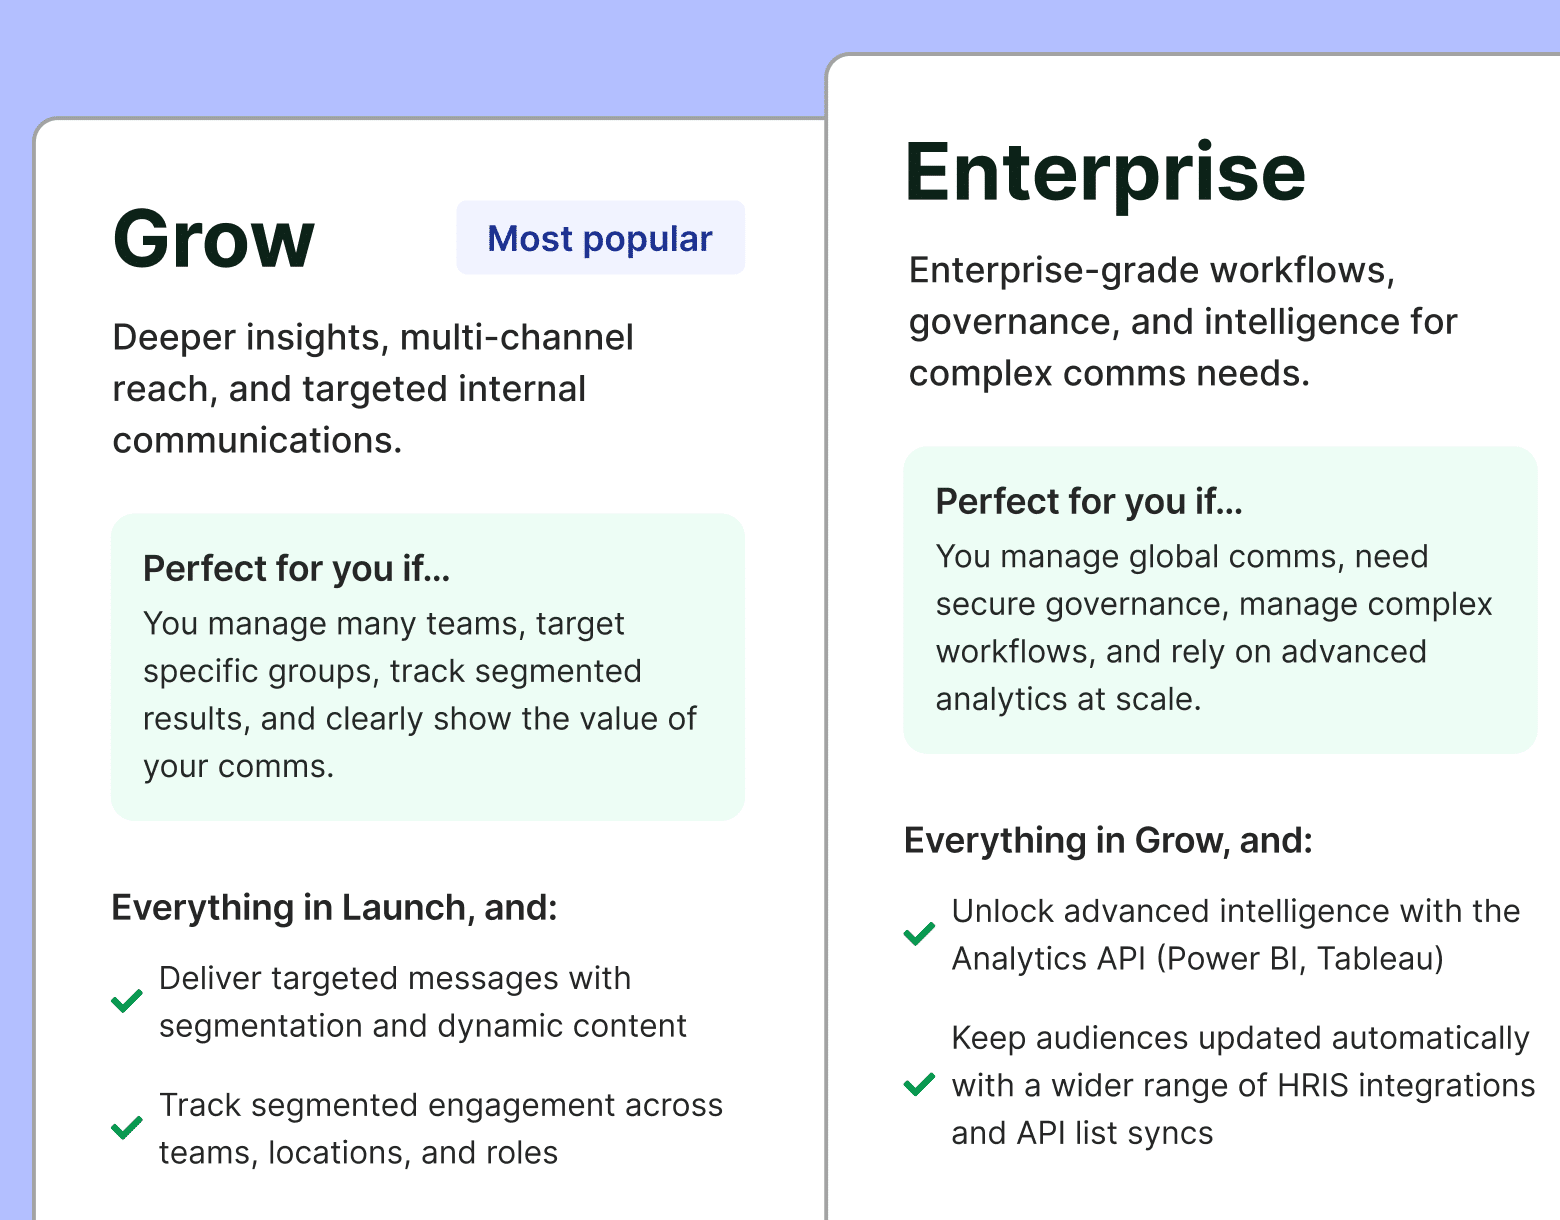
- Create custom distribution lists using the List Management feature—lists that sync with your Human Resource Information System (HRIS) like Workday and ADP, as well as Azure Active Directory, so they’ll update automatically as employees join and leave your organization.
- Suffering from writer’s block? Generate unique copy based on prompts you provide using ContactMonkey’s OpenAI ChatGPT integration.
- Go beyond Outlook’s sending limits with ContactMonkey’s Email at Scale feature. Send more than 10,000 emails per day and send one email to more than 500 recipients.
Once you’re finished designing your HTML email template for Outlook, you can select it from the ContactMonkey sidebar within your Outlook inbox. From here, you can also schedule your email for future dates, and even add a personalized subject line.
Create internal emails that get opened and read
No design or technical expertise needed. Save time, increase engagement, and dazzle your employees with fun and interactive communications.
Explore email features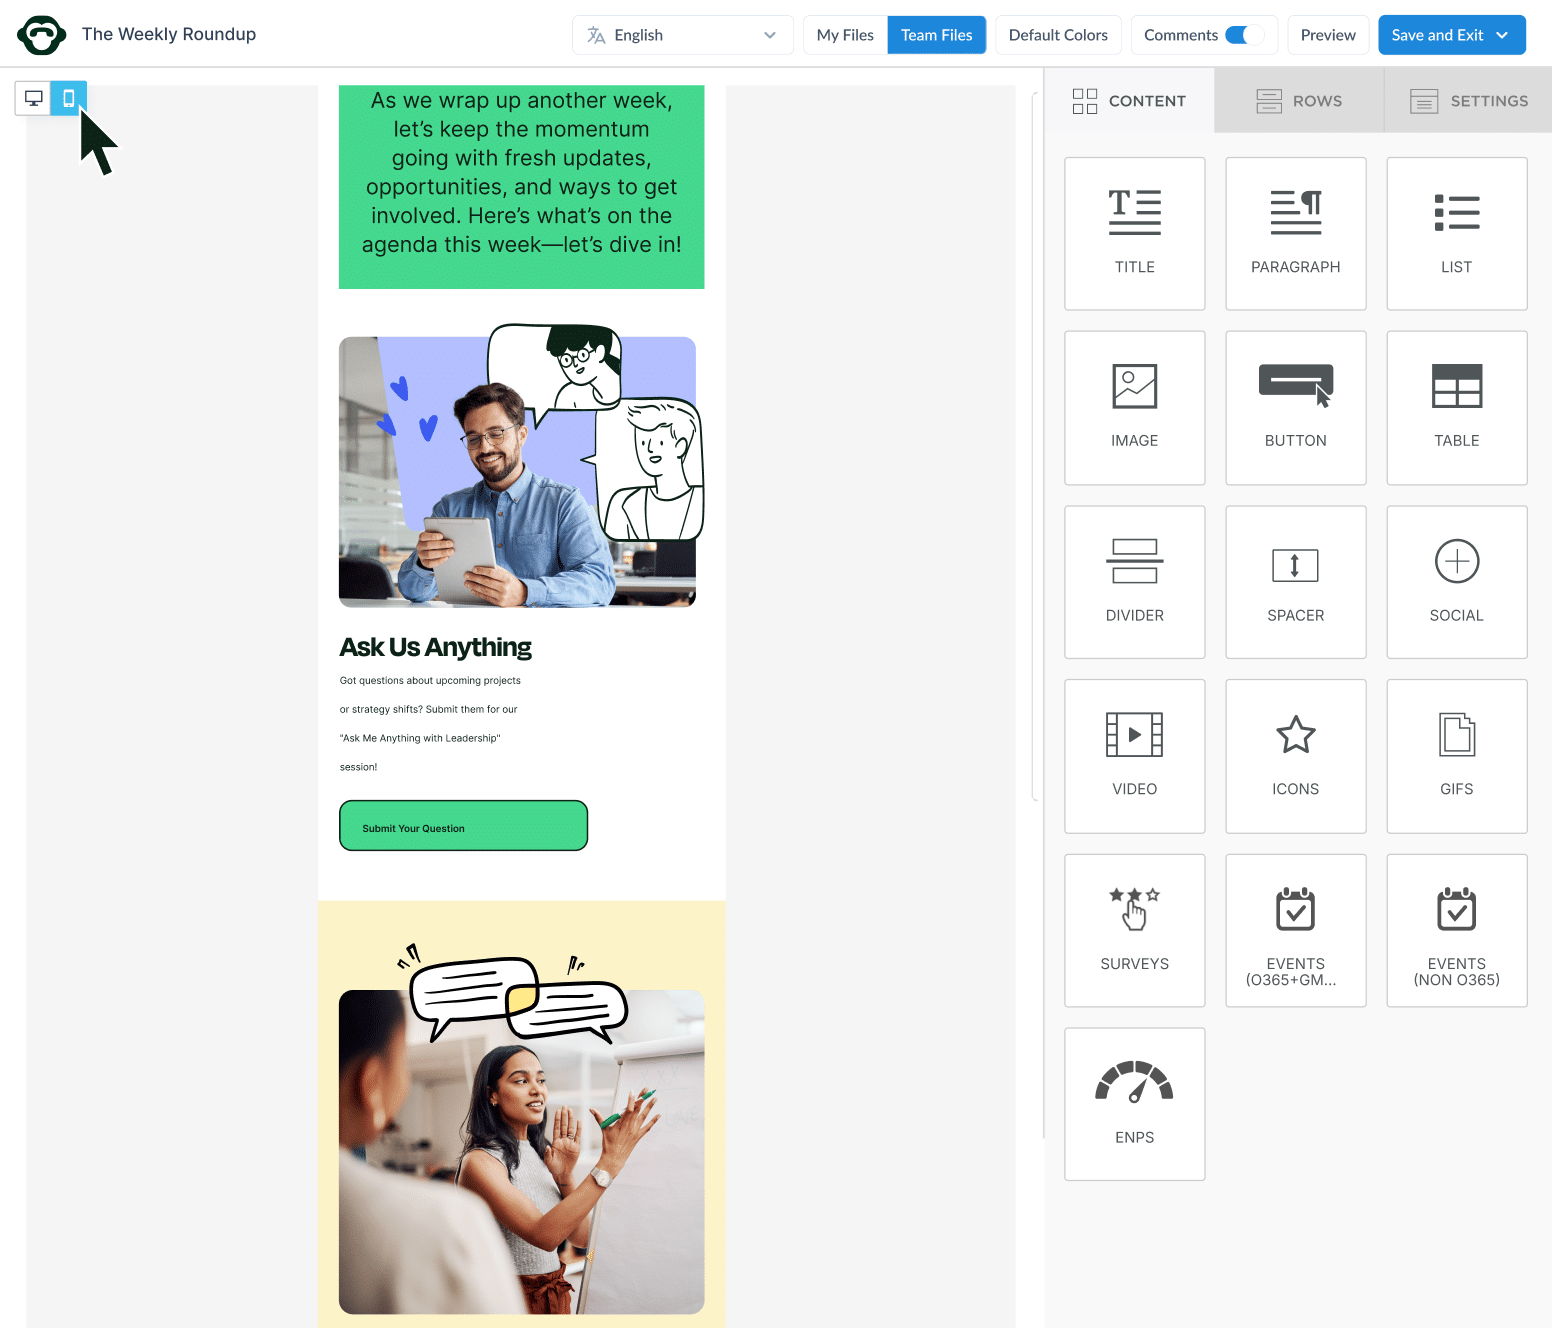
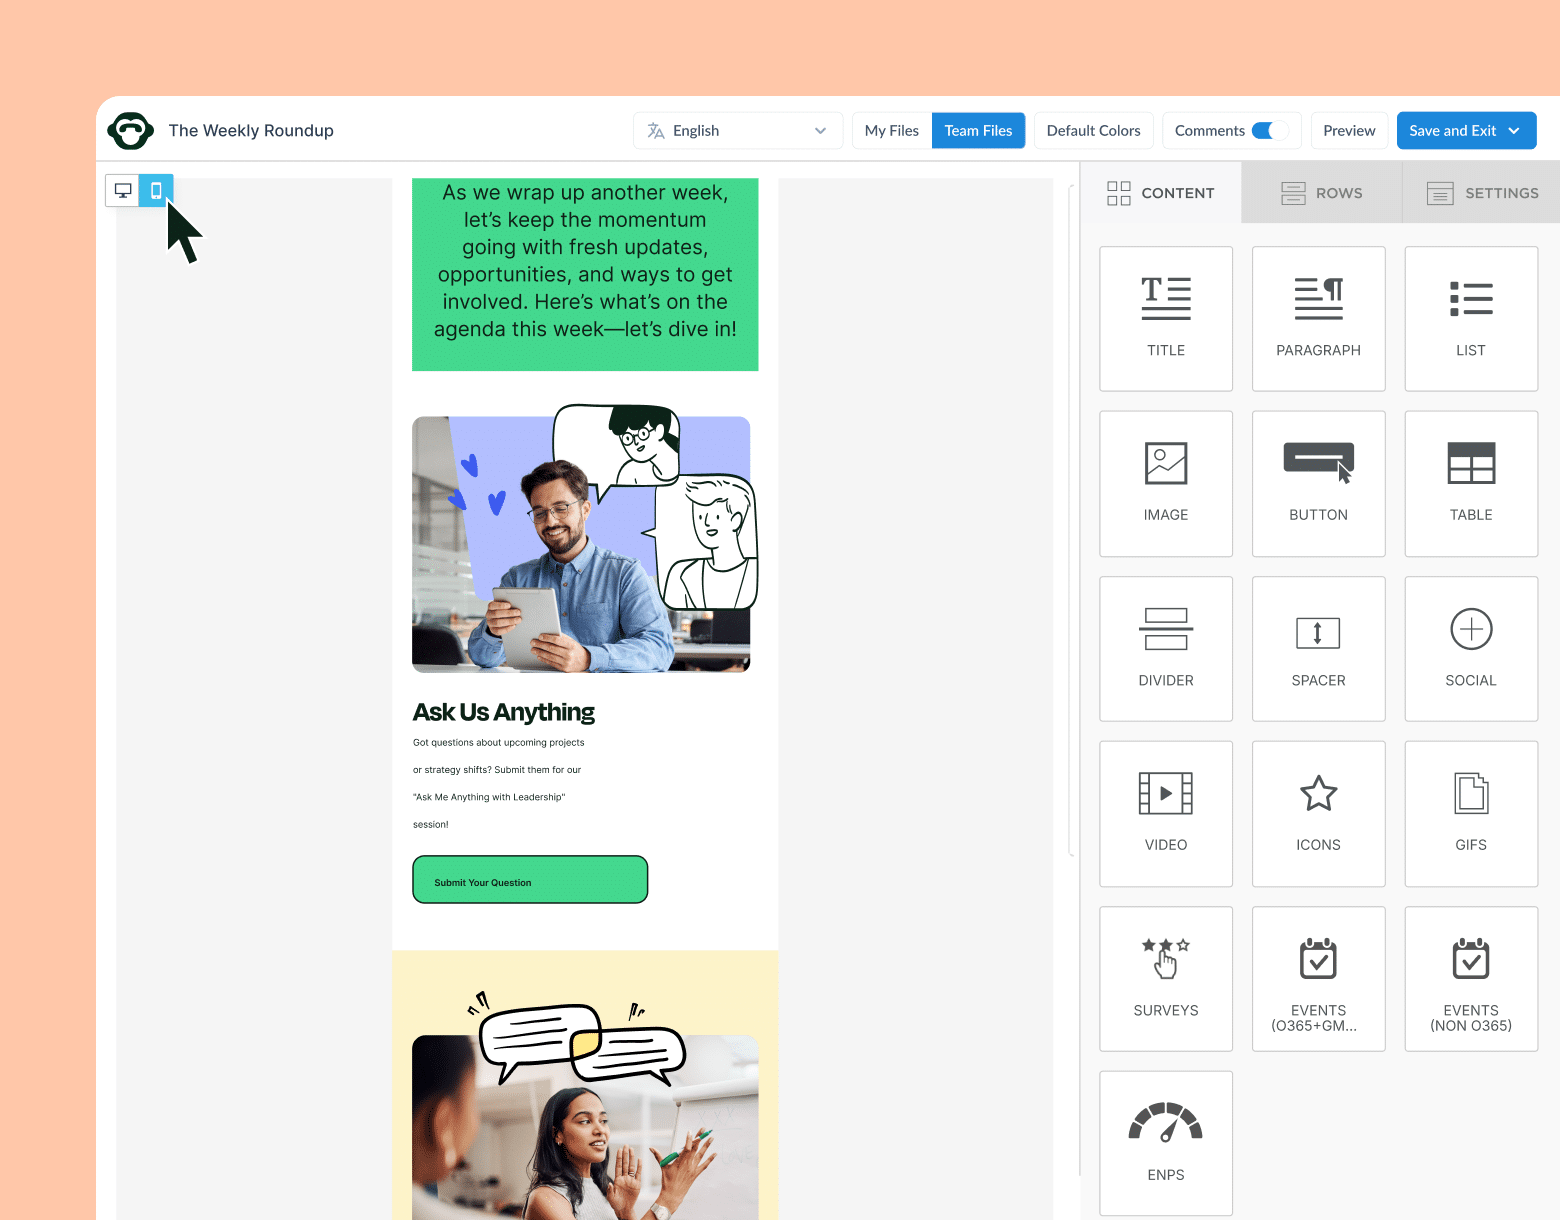
After you’ve sent your email, you can use ContactMonkey to measure its email metrics to determine its performance and gain insights for future sends. Track open rate, click-through rate, read time, opens by device and location, engagement via click maps, and more with ContactMonkey’s analytics dashboard.
2. Use CSS resets to avoid Outlook HTML email rendering issues
<style>

   /* Remove space around the email design. */

   html,

   body {

       margin: 0 auto !important;

       padding: 0 !important;

       height: 100% !important;

       width: 100% !important;

   }

   /* Stop Outlook resizing small text. */

   * {

       -ms-text-size-adjust: 100%;

   }

   /* Stop Outlook from adding extra spacing to tables. */

   table,

   td {

       mso-table-lspace: 0pt !important;

       mso-table-rspace: 0pt !important;

   }

   /* Use a better rendering method when resizing images in Outlook IE. */

   img {

       -ms-interpolation-mode:bicubic;

   }

 /* Prevent Windows 10 Mail from underlining links. Styles for underlined links should be inline. */

   a {

       text-decoration: none;

   }

</style>
Just like when developing for the web, it’s a good idea to provide a reset CSS for emails to help normalize how code gets rendered and prevent any unwanted styling in email clients. CSS reset code should be added in a few places.
The <head> reset
Adding a few CSS properties in the email <head>’s <style> tag will reset most of Outlook’s unwanted default styles—which will help you avoid Outlook HTML emails not displaying properly. <style>
A CSS reset in the email’s <head> is a good start, but adding a few more reset styles inline in the email body’s markup will ensure consistent rendering in Outlook and avoid Outlook CSS not working.
The <body> reset
Adding a few reset styles in the <body> tag will ensure consistent spacing and text line-height in Outlook.
<body width=“100%” style=“margin: 0; padding: 0 !important; mso-line-height-rule: exactly;”>The <table> reset
Adding inline attributes to all table tags will remove Outlook’s default spacing and borders on each individual table:
<table role=“presentation” cellspacing=“0” cellpadding=“0” border=“0”>Including these resets will help you avoid Outlook CSS not working so it does not add any unwanted styles to your email designs.
3. Stick to tables when creating HTML email templates for Outlook
Using tables for layouts isn’t a good practice in the web world, but it’s still good practice in the email world… especially for supporting Outlook.
Most Outlook versions don’t support the box model or things like flexbox, CSS Grid, and floats. This lack of CSS support makes it hard to use semantic HTML to build email layouts that display properly in Outlook—which means you could experience Outlook HTML emails not displaying properly.
While most web browsers could display this HTML in two columns, Outlook would display each column div as its own row.
<div>

<div style=”width; 50%; display: inline-block;”>Column 1</div>

<div style=”width; 50%; display: inline-block;”>Column 2</div>

</div>
To ensure these two columns appear side by side in Outlook, it’s best to use tables:
<table role=“presentation” cellspacing=“0” cellpadding=“0” border=“0”>

<tr>

<td>Column 1</td>

<td>Column 2</td>

</tr>

</table>
Embracing tables for layouts might seem antiquated but it’s the most reliable way to get predictable email rendering in Outlook. If you’d like to avoid using tables altogether then we recommend you pay careful attention to the next point.
4. Use code-based buttons rather than image-based buttons for responsive email design
If you’re building HTML email templates for Outlook—particularly email templates or newsletter templates—you need to use bulletproof buttons in order to avoid Outlook not rendering HTML properly.
Bulletproof buttons allow you to build buttons with code instead of images, making them accessible and easy to maintain.
Calls-to-action are critical in getting people to interact with your emails, and bulletproof buttons ensure that your CTAs are displayed, even if the recipient has email images disabled.
Outlook doesn’t recognize link tags as block elements, so we can’t just style an <a href=””> tag by itself.
Instead, we have to wrap the link in a <table> and duplicate a few CSS properties to ensure the button looks like a button in Outlook.

<table role=“presentation” cellspacing=“0” cellpadding=“0” border=“0”>

   <tr>

       <td style=“border-radius: 4px; background: #0077cc;”>

            <a class=“button-a button-a-primary” href=“https://www.contactmonkey.com/” style=“background: #0077cc; font-family: sans-serif; font-size: 15px; line-height: 15px; text-decoration: none; padding: 13px 17px; color: #ffffff; border-radius: 4px;”>Button text</a>

       </td>

   </tr>

</table>
This is one of a few ways to achieve bulletproof buttons in Outlook.
Both Litmus and Campaign Monitor have done deep dives on bulletproof email buttons, including versions that use Vector Markup Language (VML) to draw gradients in Windows Outlook.
Watch ContactMonkey LIVE in action
Join live demo
If you’re using buttons to gather feedback from your recipients, you may be better off using an email tool like ContactMonkey. Using our employee pulse survey tool, you can embed surveys into your emails that your employees can answer directly from their inbox.
With ContactMonkey, you can send surveys using your company’s distribution lists to maximize response rates. If you don’t have distribution lists set up, you can easily learn how to make a distribution list in Outlook.
5. Feature system fonts to ensure compatibility with your recipients
All computers come pre-installed with a limited number of system fonts. Arial, Times New Roman, Verdana, Georgia being some of the most common ones.
Web fonts allow designers to get creative with their typography, allowing them to choose from a large number of web fonts for their designs.
Not every version of Outlook supports web fonts, so it’s important to have a fallback system font defined for those versions where web fonts don’t display.
Since some versions of Outlook don’t support web fonts, we should include system fonts behind the web font in the font stack.
<head>

 <link href=“https://fonts.googleapis.com/css?family=Roboto” rel=“stylesheet”>

</head>

<p style=”font-family: Roboto, arial, sans-serif”>
This text will be displayed in Roboto within email clients that support web fonts (like Outlook for Mac) and Arial in email clients that don’t (like Windows Outlook 2010-2019).
</p>Including system fonts in an email’s font stack as a fallback ensures that everyone sees consistent (though not identical) typography.
Whew! Outlook can be frustrating, but it doesn’t need to be. With ContactMonkey you can avoid all these Outlook HTML rendering issues when sending your emails. It’s really easy to use, and you can see ContactMonkey in action by booking a free demo here:
6. Optimize your email images to ensure smooth presentation
Many versions of Outlook block images by default, only downloading them if a user requests they be downloaded.
We can’t force images to automatically download and display, but we can optimize the email experience when images aren’t displayed.
<img src=“https://cdn.website.com/path/to/image.png” width=“600” height=“” alt=“alt_text” border=“0” style=“width: 100%; max-width: 600px; height: auto; background: #dddddd; font-family: sans-serif; font-size: 15px; line-height: 15px; color: #555555; display: block;”>There’s a lot going on there, let’s break it down how to avoid these email rendering issues in Outlook:
- Using absolute paths (instead of relative paths) ensures our images can be downloaded. We have to host an image somewhere public so any email client can access them.
- Using either .png, .jpg, or .gif file formats ensures our image can be displayed in every major email client, including all versions of Outlook. While formats like WebP and SVG have good support in web browsers, they are not well supported in email clients.
- Specifying image widths using the width, max-width, and height ensures our images display at the proper size on desktop and scale down on mobile. In the example above, the image displays at a maximum of 600px (like on Windows Outlook), but scales down proportionally on mobile (like iOS Outlook).
- Using border=”0” removes unwanted borders on emails.
- Using display: block; removes unwanted gaps beneath images.
- Specifying alt text to provide contextual information about our images is especially handy when Outlook blocks images from automatically displaying. We can also style blocked images with CSS properties like background color, font family, font size, and color.
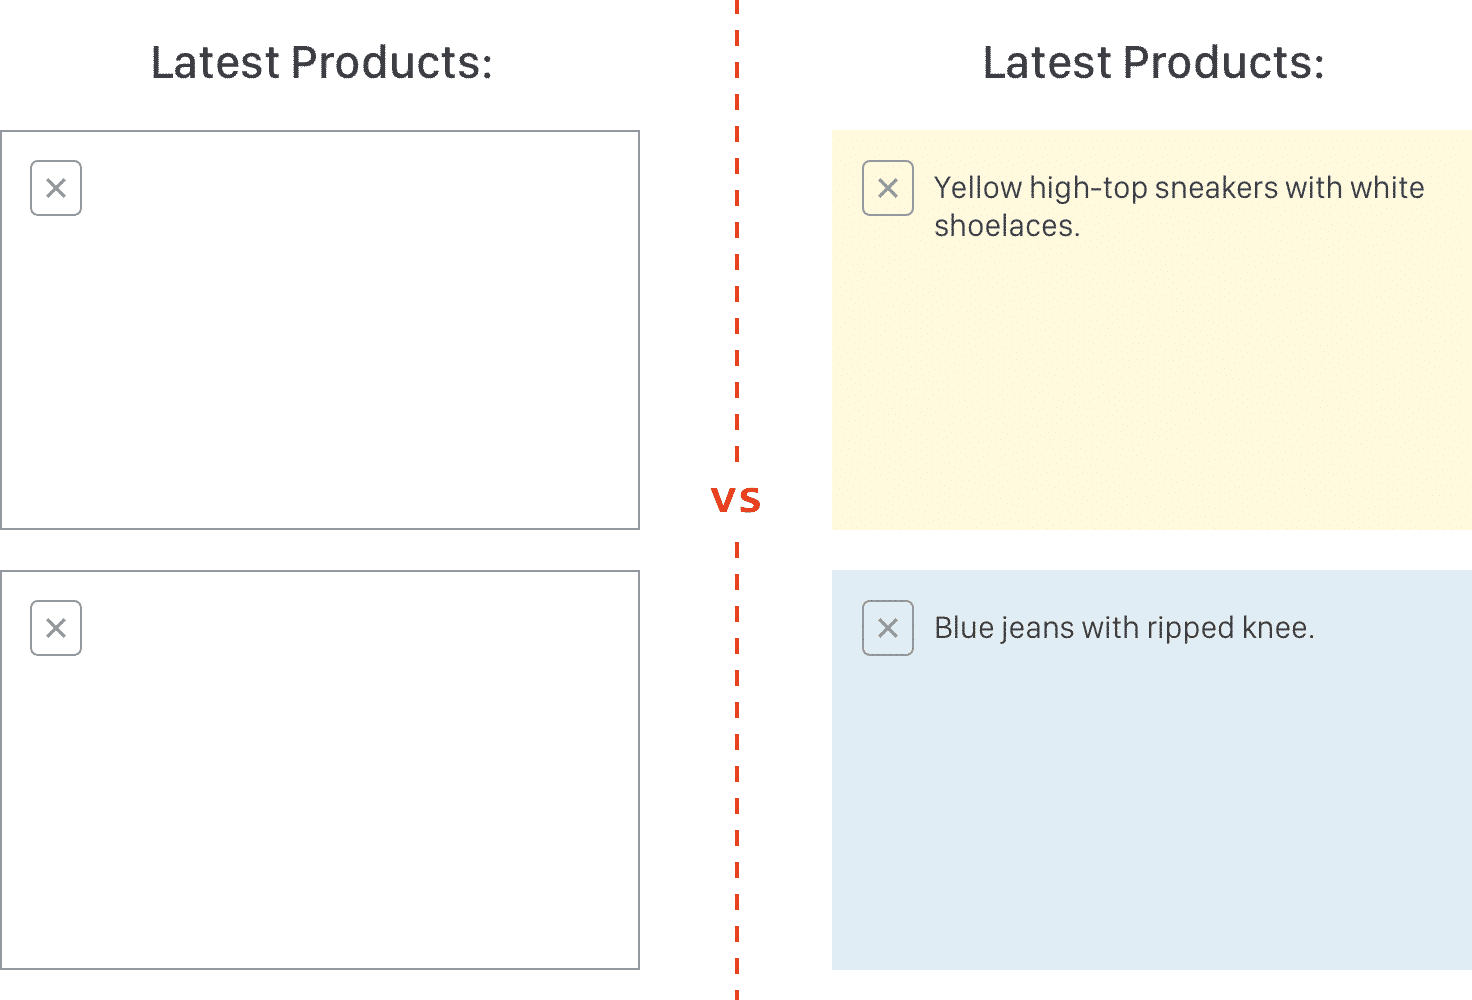
These steps will help you avoid Outlook not rendering HTML properly.
Conquer Outlook HTML Email Rendering Issues with ContactMonkey
Are you fed up experiencing rendering problems with creating HTML emails in Outlook or Outlook not rendering HTML properly?
Creating a responsive email template in Outlook or sending a responsive HTML email template in Outlook can be tricky: email addresses may not display properly, background images or HTML attributes or tags may not appear correctly, or you may experience myriad other email rendering issues in Outlook.
Avoid Outlook rendering issues by using ContactMonkey’s internal communication tool. Every email you create with ContactMonkey is full-responsive HTML; your emails will look perfect on every device and email recipient you send to.
Do you want an easier way to create beautiful HTML email newsletters? ContactMonkey’s email template builder is a powerful tool that will transform your internal communications tool. Book your free demo to try it yourself!

