Internal Email
Master internal emails to ensure your messages don’t just land in inboxes—but that they get read and drive action. In this section, you’ll find resources on:
- How to write an internal email that’s clear, engaging, and relevant
- Internal email subject line best practices to boost open rates and grab attention
- Internal communication email templates for common scenarios, from updates to announcements
Internal emails keep teams aligned, motivated, and informed. But writing them effectively requires knowing what resonates. Discover tips for creating subject lines that invite people to click and crafting content that’s concise yet compelling.
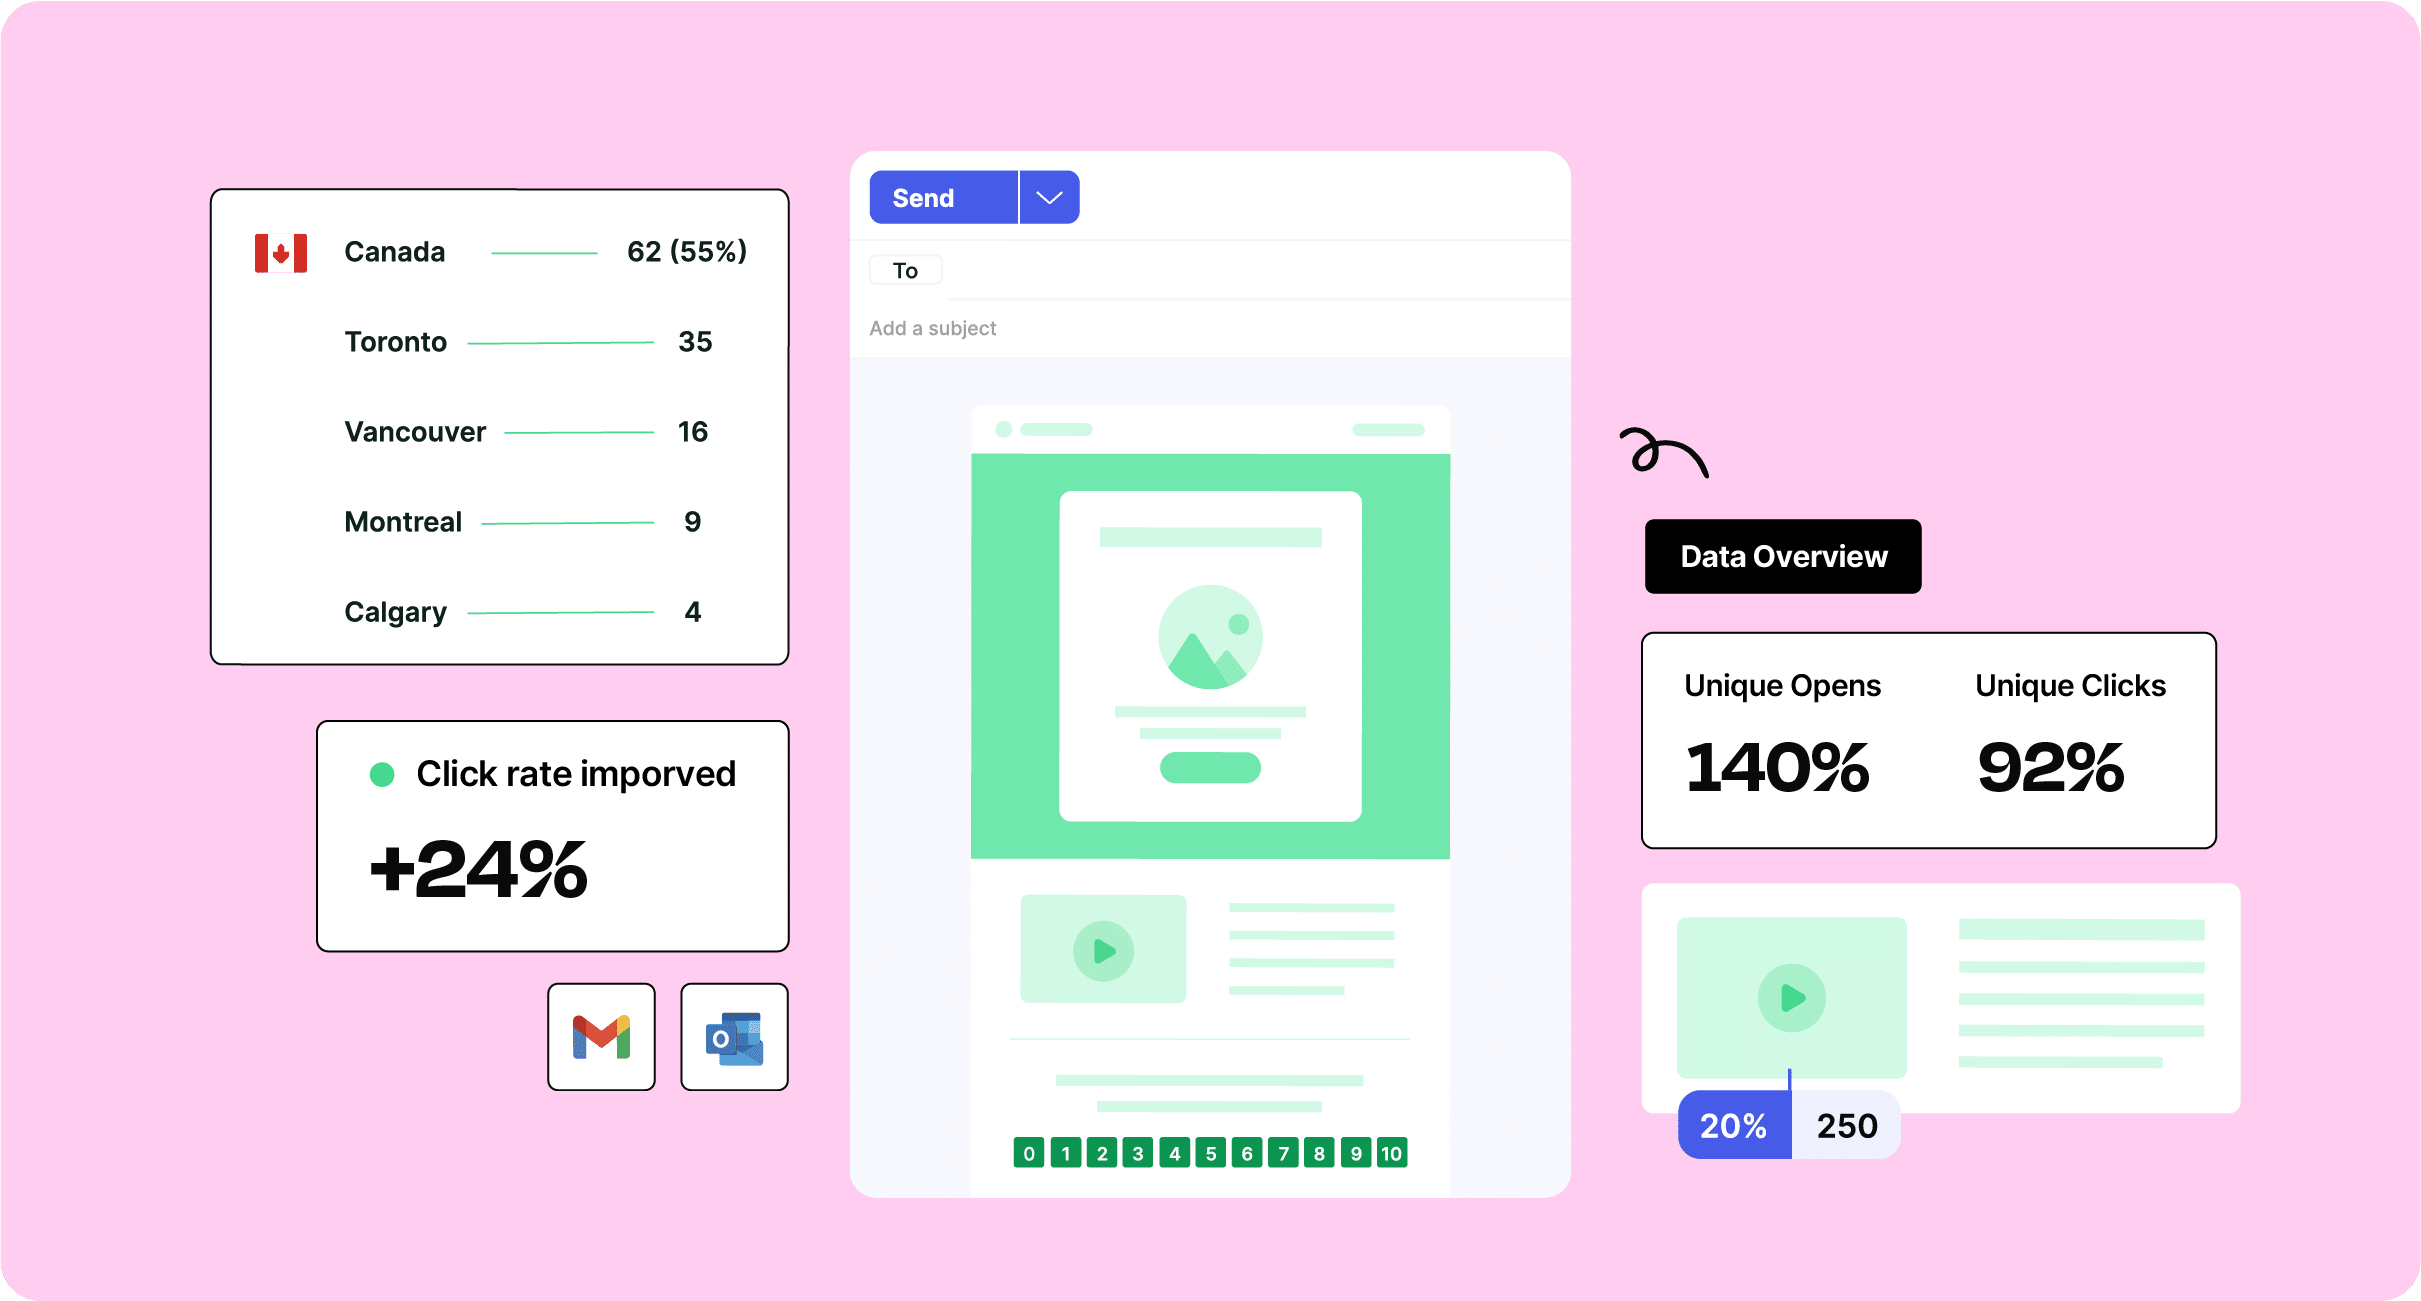
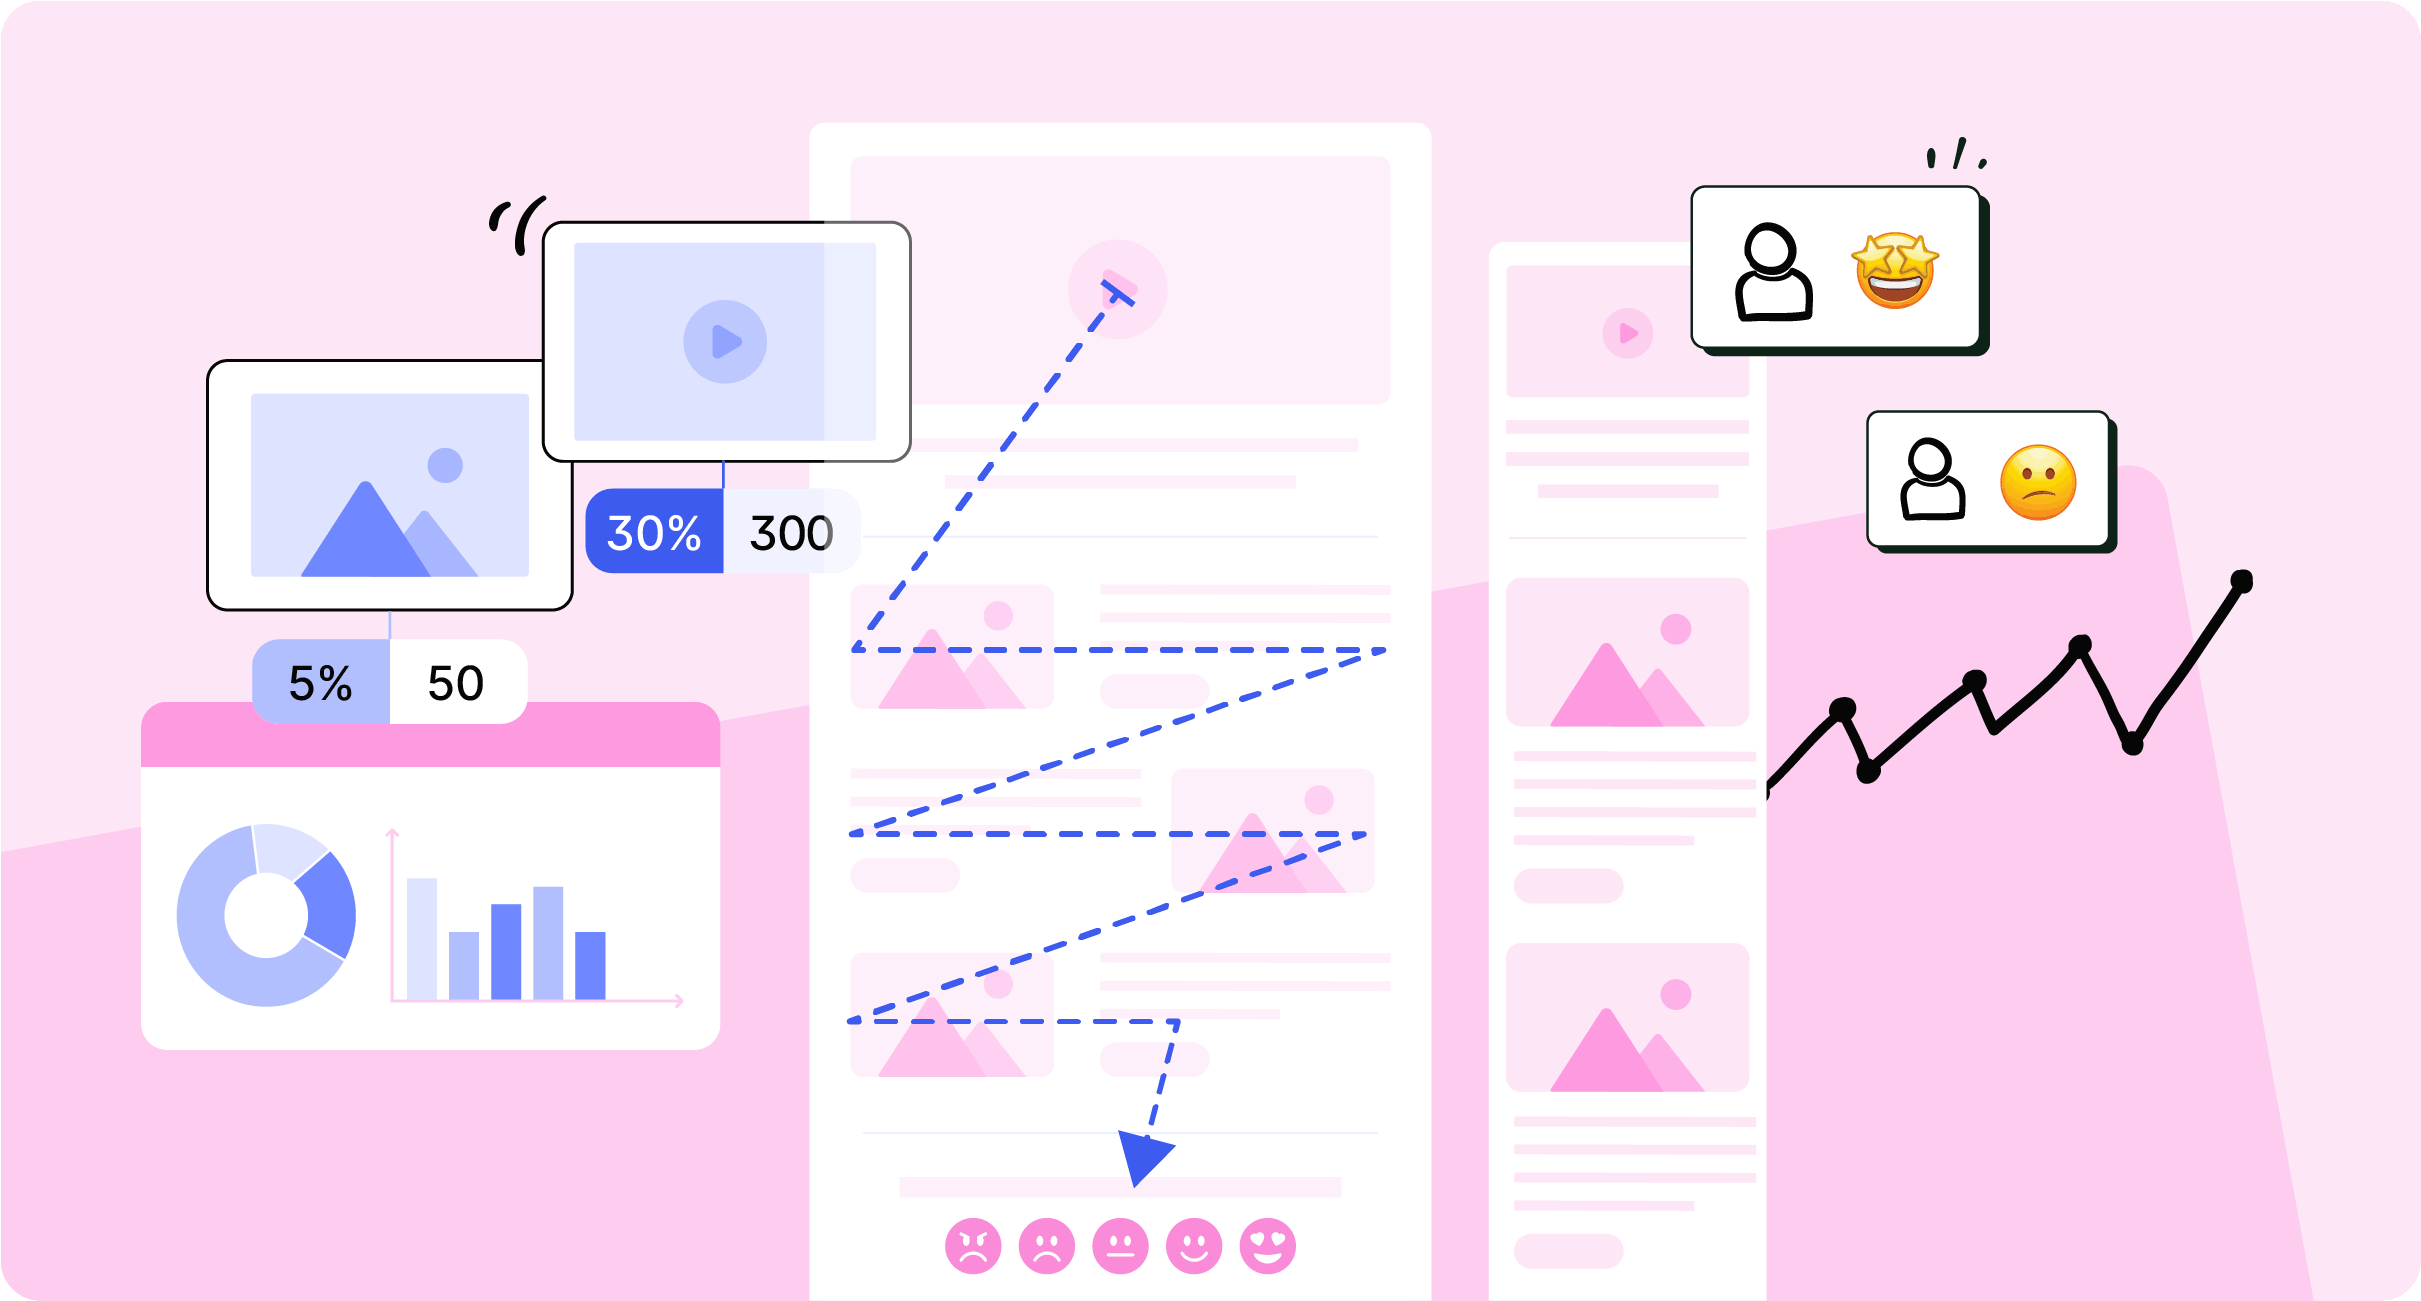
Plus, explore how to track internal email open rates and other metrics to continually refine your approach. The data helps you know whether employees are engaging with your content, and how you can adjust to improve outcomes.


Most recent articles


Be a ContactMonkey insider
News, events, and best practices in internal communications.


